Easy Homemade Kimchi Recipe: A Step-by-Step Guide
Making your own homemade kimchi at home might seem intimidating, but this easy homemade kimchi recipe breaks down the process into simple, manageable steps. Discover the joy of crafting this iconic Korean staple right in your own kitchen. There’s truly nothing like the vibrant, complex flavors of freshly made, authentic Korean kimchi, and with our guide, you’ll master the art of how to ferment kimchi with confidence.
Why You’ll Love This Homemade Kimchi
- Flavor Control: Adjust the spice levels and fermentation time to suit your personal palate. Want it super spicy? Add more gochugaru pepper flakes! Prefer it milder? You’re in charge.
- Health Benefits: Packed with beneficial probiotics, homemade fermented foods like kimchi are excellent for gut health, aiding digestion and boosting your immune system. It’s a delicious way to nourish your body.
- Cost-Effective: Making a large batch from a single napa cabbage saves money compared to store-bought jars, especially when you consider the quality and freshness you’re getting. Plus, you control all the traditional kimchi ingredients.
Essential Traditional Kimchi Ingredients
Understanding your ingredients is the key to perfect fermentation and authentic Korean flavor. Each component plays a vital role in creating that signature taste and texture of napa cabbage kimchi.
Napa Cabbage & Fresh Veggies
Napa cabbage provides the ideal crunch and structure for your homemade kimchi. Its broad, tender leaves are perfect for absorbing the rich kimchi paste. Accompanied by julienned Korean radish (often called ‘mu’), carrots, and green onions, the vegetable base offers a beautiful contrast of textures and subtle sweetness. These fresh additions not only enhance the flavor but also contribute to the visual appeal of your finished banchan.
The Secret to the Paste: Gochugaru and Sweet Rice Flour
- Sweet Rice Flour: Used to make a porridge that acts as the binder for your kimchi paste recipe. This sticky base helps the spicy flavors cling to the napa cabbage leaves while feeding the good bacteria during the crucial kimchi fermentation process. It also contributes to the kimchi’s luscious texture.
- Gochugaru: These Korean hot pepper flakes provide the signature bright red color and a complex, smoky heat that is irreplaceable in authentic Korean kimchi. The quality of your gochugaru pepper flakes can significantly impact the final taste, so seek out a good quality brand for the best results.
Beyond these foundational elements, don’t forget other essential flavor builders like garlic, ginger, and fish sauce (or soy sauce for vegan kimchi variation), which create a pungent, savory depth that truly defines this beloved Korean side dish.
Step-by-Step Instructions for Perfect Kimchi
Embarking on the journey of making your own homemade kimchi is incredibly rewarding. Follow these detailed steps to ensure a successful and delicious batch every time.
1. Preparing and Salting the Cabbage
Properly salting the napa cabbage draws out excess moisture and softens the leaves, making them pliable and ready to absorb the flavorful paste. This step is crucial to prevent your kimchi from becoming overly watery and mushy. You’ll typically cut the cabbage into quarters or smaller pieces, rub coarse sea salt between the leaves, and let it sit for several hours, flipping occasionally. After salting, a thorough rinse is essential to remove excess salt, followed by draining the cabbage exceptionally well.
2. Making the Rice Porridge
Creating a simple porridge with water, sweet rice flour, and a touch of sugar creates the foundational ‘glue’ for your spice mixture. This sweet rice flour porridge is what helps the kimchi paste recipe adhere beautifully to every leaf. Simply whisk the ingredients together over medium heat until it thickens into a glossy, smooth consistency, then let it cool completely before mixing with other ingredients.
3. Blending the Flavor Base
Aromatics are everything in authentic Korean kimchi. Blending onions, garlic, ginger, and fish sauce (or a vegan alternative) creates a pungent, deeply savory liquid that marries beautifully with the gochugaru pepper flakes. Some recipes also include a small amount of fruit like Asian pear or apple for a subtle sweetness and tenderizing effect. This blended mixture forms the aromatic heart of your kimchi paste recipe.
4. Mixing and Fermenting
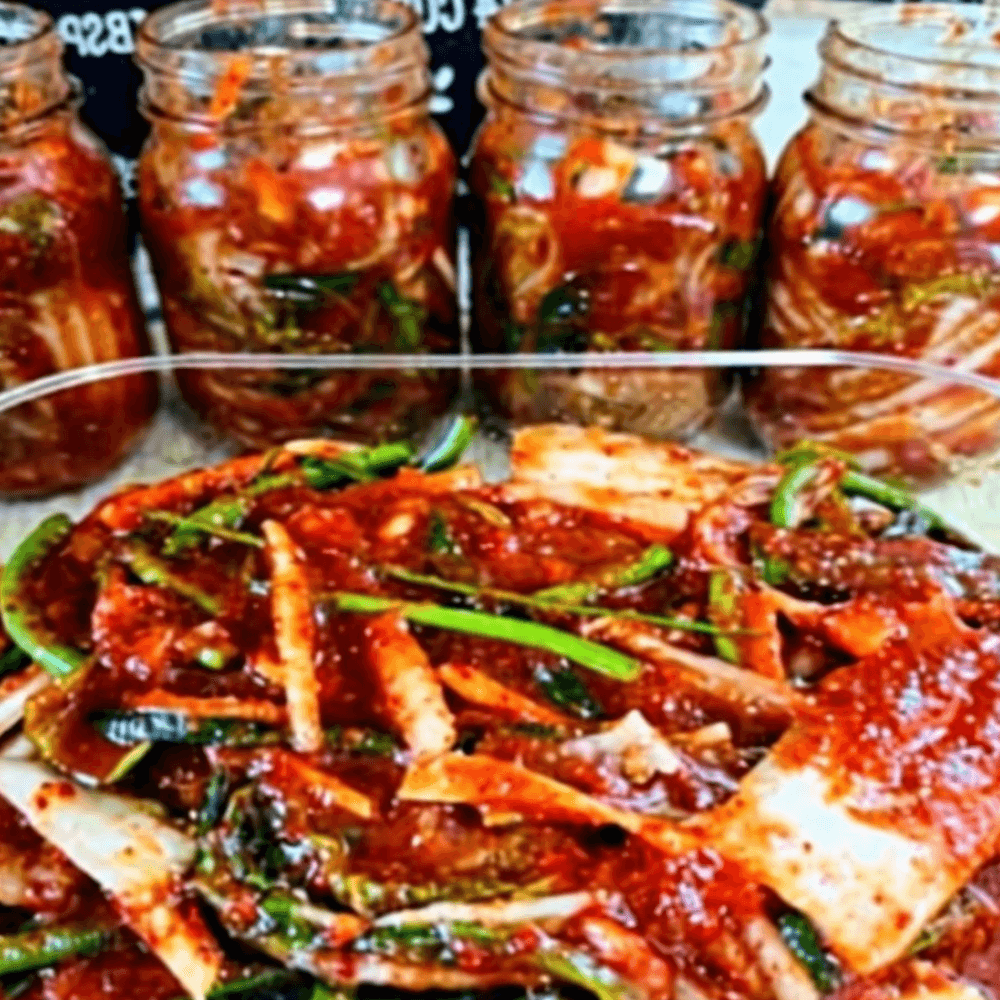
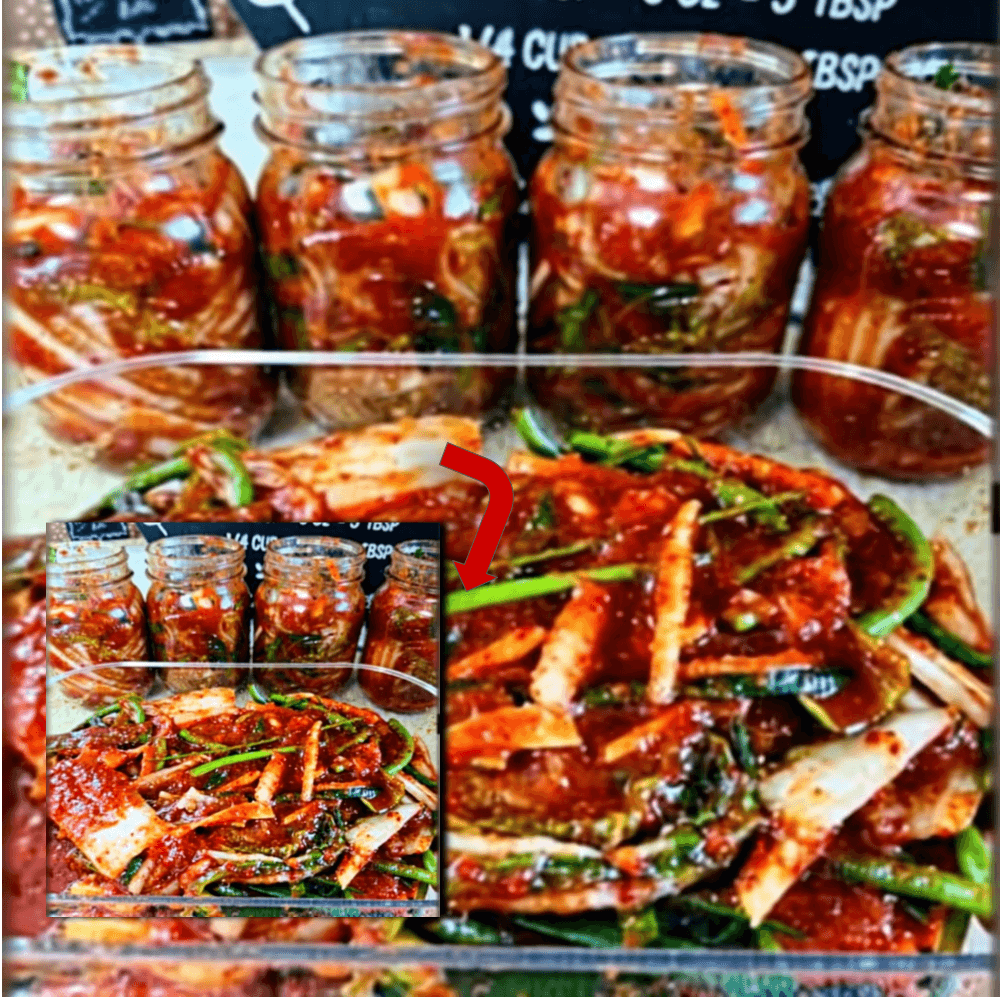
Now comes the fun, hands-on part! Tossing the salted and drained vegetables with the vibrant kimchi paste is an experience in itself (gloves are highly recommended to protect your hands from the spice and staining!). Ensure every piece of napa cabbage and accompanying vegetables are thoroughly coated in the rich, red paste. Once mixed, pack the kimchi tightly into clean, airtight jars or fermentation crocks, ensuring there are no air pockets. The magic of lacto-fermentation then begins. This is the heart of how to ferment kimchi and create those delicious probiotics.
Expert Tips for Perfect Fermentation
Mastering the kimchi fermentation process takes a little practice, but these tips will help you achieve outstanding results for your homemade kimchi every time.
Temperature and Time
Fermentation speed depends heavily on room temperature. In warmer climates, your kimchi may reach the perfect sourness in just 1 to 2 days, whereas a cooler kitchen might require 3 to 4 days, or even longer. Taste your kimchi daily after the first day or two. You’re looking for a pleasant tanginess, a slight fizz, and a deepening of flavor. Once it reaches your desired level of fermentation, it’s time to move it to the fridge.
Avoiding Mushy Cabbage
To ensure your napa cabbage kimchi remains delightfully crunchy, always rinse your cabbage thoroughly after the initial salting process and drain it exceptionally well. Any residual water will dilute the homemade kimchi paste and can compromise the crunchy texture. You can even gently squeeze excess water from the cabbage leaves before mixing. This step is critical for achieving that satisfying bite.
“The secret to truly outstanding homemade kimchi lies in patience and precise preparation. Don’t rush the salting or draining; these steps are foundational to texture and flavor.”
Variations and Substitutions
The beauty of making homemade kimchi is the ability to customize it to your taste and dietary needs. Don’t be afraid to experiment once you’ve mastered the basic kimchi paste recipe.
Vegan Kimchi (Skipping Fish Sauce)
If you want a plant-based version, a delicious vegan kimchi variation is easily achievable. Simply swap the fish sauce for a mix of soy sauce, miso paste, or coconut aminos to retain that essential umami depth without any animal products. Many recipes also use a mushroom broth concentrate to further enhance the savory notes, making for an equally rich and flavorful vegan kimchi.
Adjusting the Spice Level
Modify the amount of gochugaru pepper flakes to scale the heat up or down. For a milder batch of authentic Korean kimchi, use less pepper flakes and perhaps increase the ratio of blended aromatics or add a touch more sugar. For those who love a fiery kick, feel free to be generous with the gochugaru! Remember, the spice mellows slightly during fermentation, so you can always start a little bolder.
How to Store and Enjoy Kimchi
Once your homemade kimchi reaches your desired level of tanginess, move it to the refrigerator. The cold temperature significantly slows down fermentation, preserving its flavor and texture for weeks, even months. Kimchi is incredibly versatile! Enjoy it as a vibrant korean side dish banchan with almost any meal, or incorporate it into cooked dishes. It shines in kimchi fried rice, adds a punch to instant noodles, or becomes the star ingredient bubbling in a hearty kimchi jjigae (stew) with tender slices of beef. You can even use it to elevate sandwiches or tacos.
Frequently Asked Questions (FAQs)
- How long does homemade kimchi last?
Properly stored in an airtight container in the refrigerator, homemade kimchi can last for several months, growing progressively more sour and complex in flavor over time. The fermentation process acts as a natural preservative.
- Is it normal for kimchi to bubble?
Yes, absolutely! Bubbling is a sign of healthy, active fermentation. It indicates that the beneficial lactobacilli bacteria are hard at work, consuming sugars and producing lactic acid and carbon dioxide. This is a good sign that your kimchi fermentation process is going well.
- Do I have to use sweet rice flour?
While sweet rice flour is traditional and helps create a thick, clinging kimchi paste recipe, it’s not strictly mandatory. If you don’t have sweet rice flour, you can blend a small amount of cooked white rice with water to achieve a similar consistency, or simply omit it. However, the paste will be slightly thinner and may not adhere as well to the cabbage leaves, which can affect the overall texture of your napa cabbage kimchi.
We hope this guide inspires you to try making your own incredible homemade kimchi. For more authentic Korean recipes and culinary tips, be sure to follow us on Facebook! You can find our page here: https://www.facebook.com/profile.php?id=61568538666337
Easy Homemade Kimchi
Ingredients
- 1 large napa cabbage sliced into 2-inch pieces
- 1/2 cup salt for drawing out moisture
- 1/4 cup sweet rice flour
- 3 tbsp sugar
- 3 cups water plus extra for soaking and washing
- 1/2 cup garlic crushed
- 2 tbsp ginger minced
- 1 cup onion minced
- 1/2 cup fish sauce
- 1 cup Korean hot pepper flakes (gochugaru)
- 2 whole green onions diagonally sliced
- 1/4 cup carrot julienned
- 2 cups Korean radish julienned
Instructions
- Wash the napa cabbage and slice it into pieces about 2 inches in length. Place the cabbage in a large container, add the salt, and cover with water. Soak for 1 1/2 hours, rotating and mixing every 30 minutes. Rinse twice and set aside to drain.
- In a pan, whisk together 3 cups of water and the sweet rice flour until well combined. Bring to a boil, then reduce heat and simmer until it reaches a paste-like consistency.
- Add the sugar to the rice flour paste and mix well for 2 to 3 minutes. Remove from heat and let it cool completely.
- In a blender, combine the minced onions, crushed garlic, minced ginger, and fish sauce. Blend until you achieve a creamy consistency.
- In a large mixing bowl, combine the cooled rice porridge, the blended onion sauce, and the Korean hot pepper flakes (gochugaru).
- Add the drained cabbage, carrots, green onions, and Korean radish to the spice paste. Mix thoroughly by hand until all vegetables are evenly coated.
- Transfer the mixed kimchi into airtight jars or containers. It can be eaten fresh immediately, or left on the counter at room temperature for 2 days to undergo the fermentation process.
- After 2 days, transfer the fermented kimchi to the refrigerator for storage.
For more daily recipes and tips, follow us on Facebook!
Click here to join our community!