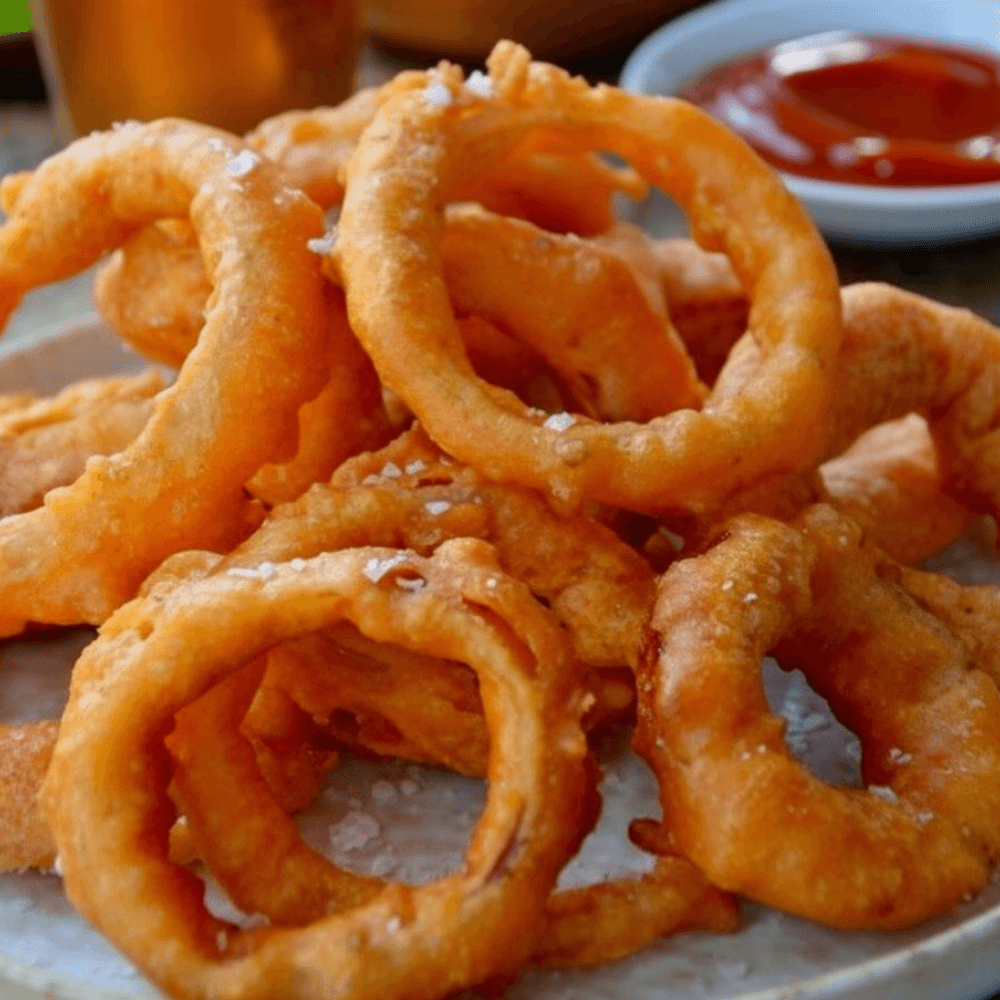
There’s something undeniably magical about a perfectly crafted onion ring. That golden-brown crunch, the sweet, tender onion inside, and the satisfying sigh of pure comfort food bliss. While many variations exist, for me, the pinnacle is undoubtedly the Beer-Battered Onion Rings. They offer a depth of flavor and an unparalleled crispness that takes this humble side dish from good to absolutely legendary.
Forget those limp, frozen imposters. Today, we’re diving into the art of creating truly spectacular, pub-style onion rings right in your own kitchen. This isn’t just a recipe; it’s a journey to onion ring nirvana, ensuring every bite is a symphony of texture and taste.
Why This Recipe Works
The secret to truly extraordinary rings lies in the batter – and ours is a game-changer. Using beer introduces carbonation, which creates a lighter, airier batter, and also imparts a subtle malty flavor that perfectly complements the sweetness of the onion. This light-as-air batter, combined with careful frying techniques, results in a shell that’s incredibly crispy without being heavy or greasy. It’s the kind of homemade onion rings recipe that will make you wonder why you ever bothered with anything less.
Choosing the Right Beer for the Batter
This is where the fun begins! The type of beer you choose will subtly influence the final flavor of your crispy onion rings. You don’t need anything fancy, but avoid anything too dark or hoppy, as these can overpower the onion. My go-to choices for the best beer for batter are:
- Light Lagers: Think your standard American pilsners or lagers. They’re mild, widely available, and their carbonation is excellent for lift.
- Pale Ales: For a little more character without being too intense, a pale ale can add a lovely subtle fruitiness or a hint of hops that pairs wonderfully.
- Wheat Beers (Hefeweizen): These can introduce a delightful citrusy or spicy note, adding another layer of complexity.
Expert Tip: Always choose a beer you’d enjoy drinking. If you wouldn’t drink it, you probably won’t enjoy its flavor in your batter!
Ingredients Breakdown
Simplicity is key to letting the ingredients shine.
For the Onion Rings:
- 2 large sweet onions (e.g., Vidalia, Walla Walla, or Spanish onions)
- 6 cups vegetable oil (or peanut oil) for deep frying
- Salt and freshly ground black pepper to taste
For the Beer Batter:
- 1 ½ cups all-purpose flour
- 1 teaspoon baking powder
- ½ teaspoon salt
- ¼ teaspoon black pepper
- 1 teaspoon garlic powder
- ½ teaspoon paprika (smoked paprika for an extra kick!)
- 1 (12-ounce) bottle or can of cold beer (see notes above for selection)
Best Onions for Frying
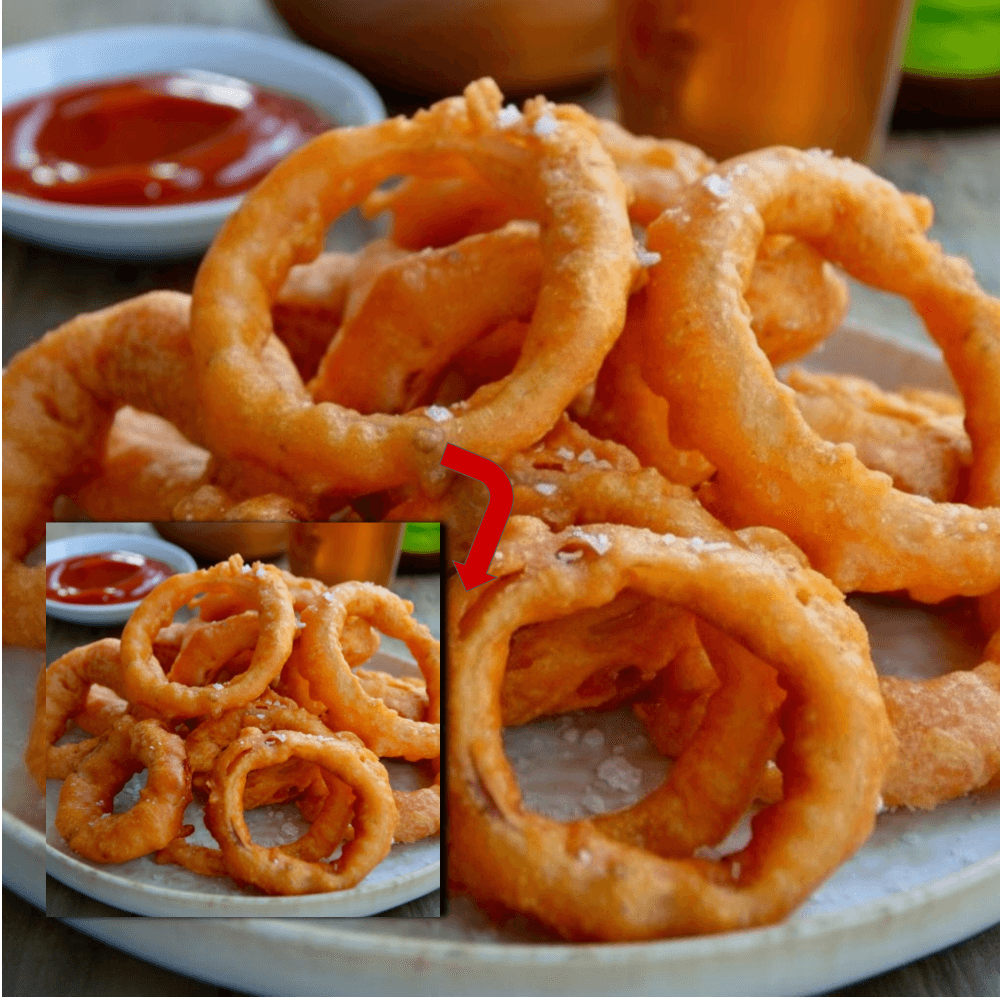
When it comes to the star of the show, sweet onions are non-negotiable. Varieties like Vidalia, Walla Walla, or even a good Spanish onion have a lower sulfur content, which means they’re less pungent and become wonderfully sweet and tender when cooked. For that classic diner look and mouthfeel, aim for thick cut onion rings, about ½ inch to ¾ inch in thickness. This ensures they don’t disintegrate during frying and provide a satisfying bite against the crispy exterior.
The Light-as-Air Batter
Our batter recipe is designed for maximum crispness and flavor. The combination of flour, baking powder, and cold beer creates a delicate, airy coating that perfectly encases the onion. Spices like garlic powder and paprika add savory depth, making every bite incredibly satisfying. Remember, the colder the beer, the better, as it reacts more vigorously with the baking powder, enhancing the lift and crispiness of your finished rings.
Step-by-Step Instructions
Prepping the Onions
- Peel the onions and slice them into ½ to ¾-inch thick rings.
- Carefully separate the rings. You’ll find concentric circles within each slice. Discard any tiny inner rings that would be difficult to batter.
- Pat the separated rings very dry with paper towels. This is a crucial step; any moisture will prevent the batter from adhering properly.
Mixing the Batter
- In a large mixing bowl, whisk together the flour, baking powder, salt, black pepper, garlic powder, and paprika until well combined.
- Gradually pour in the cold beer, whisking constantly until the batter is smooth. A few small lumps are okay, but aim for a consistency slightly thinner than pancake batter. It should cling to the onions without being too thick or runny.
- Do not overmix! Overmixing can develop the gluten in the flour, leading to a tough rather than crispy batter.
Deep-Frying to Perfection
- Pour the vegetable or peanut oil into a large, heavy-bottomed pot or Dutch oven, ensuring it’s at least 3-4 inches deep.
- Heat the oil over medium-high heat until it reaches 350-375°F (175-190°C). A deep-fry thermometer is highly recommended for accuracy.
- Working in small batches, dip each onion ring into the batter, ensuring it’s fully coated. Let any excess drip off.
- Carefully lower the battered rings into the hot oil, making sure not to overcrowd the pot. Overcrowding will drop the oil temperature and result in greasy rings.
- Fry for 2-4 minutes, turning occasionally, until golden brown and crispy.
- Using a slotted spoon or spider, remove the cooked rings from the oil and transfer them to a wire rack set over a baking sheet lined with paper towels to drain.
- Immediately sprinkle with salt and pepper while they are still hot.
- Repeat with the remaining onion rings, ensuring the oil returns to the correct temperature between batches.
Expert Tips for Crispy Rings
Achieving truly transcendent crispy onion rings recipe results requires a few pro moves.
Oil Temperature Control
This is arguably the most critical factor in successful deep-fried onion rings. If the oil is too cold, the batter will absorb too much oil, leading to soggy, greasy rings. If it’s too hot, the batter will burn before the onion cooks through, or the exterior will be too dark. A consistent temperature between 350-375°F (175-190°C) ensures a perfectly golden, crunchy exterior and a tender interior. Use a thermometer and adjust your heat as needed, especially after adding each batch of rings.
Avoiding Greasy Onion Rings
Beyond oil temperature, there are other strategies to prevent greasiness:
- Don’t Overcrowd: Fry in small batches. This keeps the oil hot and prevents the rings from sticking together.
- Drain Properly: Always drain your fried rings on a wire rack, not directly on paper towels. Air circulation is key to keeping them crispy. Paper towels underneath are just for catching drips.
- Dry Onions: As mentioned, ensure your onion slices are thoroughly dry before battering.
Serving Suggestions and Dips
While these magnificent rings are stellar on their own, the right accompaniment can elevate the experience even further. They’re fantastic alongside a juicy beef burger or a perfectly grilled steak, bringing that true pub style onion rings feel to your meal.
Classic Ketchup and Beyond
Of course, a classic like ketchup is always a reliable choice, but don’t limit yourself! Here are some ideas for a stellar onion ring dipping sauce:
- Spicy Aioli: Mix mayonnaise with a touch of sriracha, lime juice, and minced garlic for a creamy, zesty kick.
- Ranch Dressing: The herbaceous tang of ranch is a surprisingly delicious pairing.
- Honey Mustard: Sweet and tangy, this classic complements the savory onion rings beautifully.
- Chipotle Mayo: A smoky, slightly spicy mayonnaise adds depth and excitement.
Frequently Asked Questions
Got questions? We’ve got answers!
Q: Can I make the batter ahead of time?
A: It’s best to mix the batter just before frying. The carbonation from the beer and the leavening from the baking powder are most active when fresh, contributing to a lighter, crispier result.
Q: What if I don’t have a deep-fry thermometer?
A: While highly recommended, you can test the oil by dropping a tiny bit of batter into it. If it sizzles vigorously and floats to the top immediately, the oil is likely hot enough (around 350-375°F). If it immediately browns, it’s too hot. If it just sinks and slowly bubbles, it’s too cold.
Q: How do I store leftover onion rings?
A: Leftover onion rings are best reheated in an oven or air fryer at around 350°F (175°C) until crispy, usually about 5-10 minutes. They tend to lose their crispness when microwaved.
Q: Can I use gluten-free flour for the batter?
A: Yes, you can. A good quality all-purpose gluten-free flour blend will work, though the texture might be slightly different. Ensure your beer is also gluten-free if catering to strict dietary needs.
Conclusion
There you have it – the definitive guide to making restaurant-quality homemade onion rings that are irresistibly crunchy, flavorful, and deeply satisfying. This recipe for Beer-Battered Onion Rings is more than just food; it’s an experience, a little piece of pub-style perfection brought straight to your table. Gather your ingredients, choose your favorite brew, and get ready to impress everyone with these golden, crispy delights.
We absolutely love seeing your culinary creations! Share your beautiful batches of rings and your favorite dipping sauces with us. Don’t forget to follow us on Facebook for more delicious recipes, cooking tips, and behind-the-scenes fun: https://www.facebook.com/profile.php?id=61568538666337. Happy frying!
Homemade Beer-Battered Onion Rings
Ingredients
- 2 whole Large yellow onions Sliced into 1/2-inch thick rings
- 1.5 cups All-purpose flour
- 12 oz Cold beer Lager or pale ale preferred
- 1 tsp Paprika
- 1 tsp Garlic powder
- 1 tsp Salt Plus extra for finishing
- 0.5 tsp Black pepper
- 1 quart Vegetable oil For deep frying
- 0.5 cups Ketchup For serving
Instructions
- Peel the onions, slice them into 1/2-inch thick rings, and carefully separate the layers.
- In a large mixing bowl, whisk together the all-purpose flour, paprika, garlic powder, salt, and black pepper.
- Gradually pour the cold beer into the dry ingredients, whisking gently until just combined. A few lumps are fine.
- Heat the vegetable oil in a heavy-bottomed pot or deep fryer to 375 degrees Fahrenheit.
- Dip each onion ring into the batter, allowing the excess to drip off, and carefully lower it into the hot oil.
- Fry the rings in small batches for 2 to 3 minutes per side until golden brown and crispy.
- Remove from oil, drain on a wire rack or paper towels, and season immediately with additional salt. Serve hot with ketchup.
For more daily recipes and tips, follow us on Facebook!
Click here to join our community!