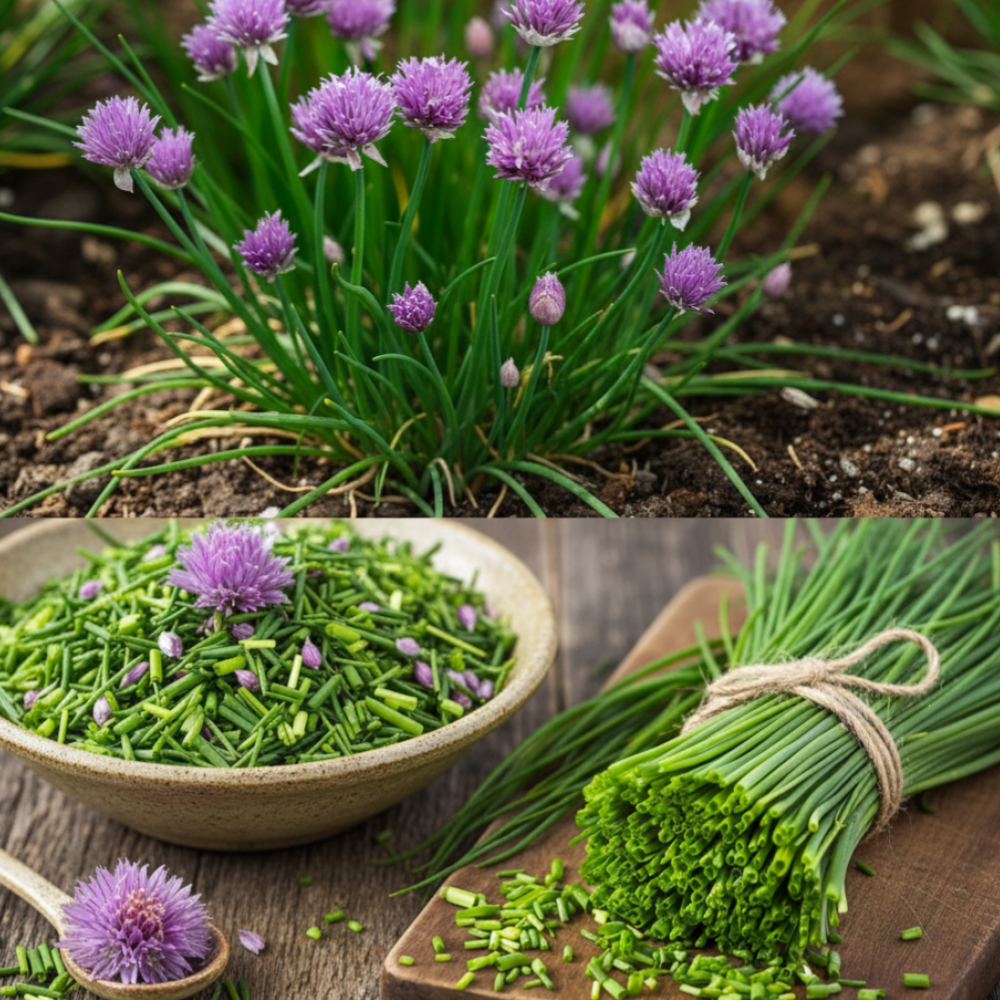
Harvesting fresh chives from the garden offers a vibrant flavor often associated with spring and summer. However, the bounty can be fleeting. Learning how to dry chives allows you to capture that delicate oniony zest and extend its availability throughout the year. This guide provides comprehensive methods for preserving your chive harvest, ensuring none of your hard work goes to waste.
Why Preserving Your Harvest is Essential
The act of preserving your garden’s output is a time-honored tradition that offers significant benefits. Beyond simply extending the shelf life of perishable items, dehydrating fresh herbs like chives locks in their flavor and aroma, making them accessible long after the growing season has ended. This practice reduces food waste, saves money by avoiding store-bought dried herbs, and ensures a consistent supply of garden-fresh taste for your culinary endeavors. Dried chives are a versatile ingredient, ready to enhance soups, salads, and countless other dishes with their subtle, savory notes.
Preparation: Washing and Chopping
Proper preparation is the foundation of successful herb drying. Begin by carefully harvesting your chives. Select healthy, green stems, avoiding any that are yellowed or damaged.
- Rinse Thoroughly: Wash the chives under cool running water to remove any dirt, insects, or garden debris.
- Dry Completely: Lay the washed chives on a clean kitchen towel or use a salad spinner to remove as much moisture as possible. Excess water can hinder the drying process and lead to mold. Pat them gently until they are completely dry to the touch.
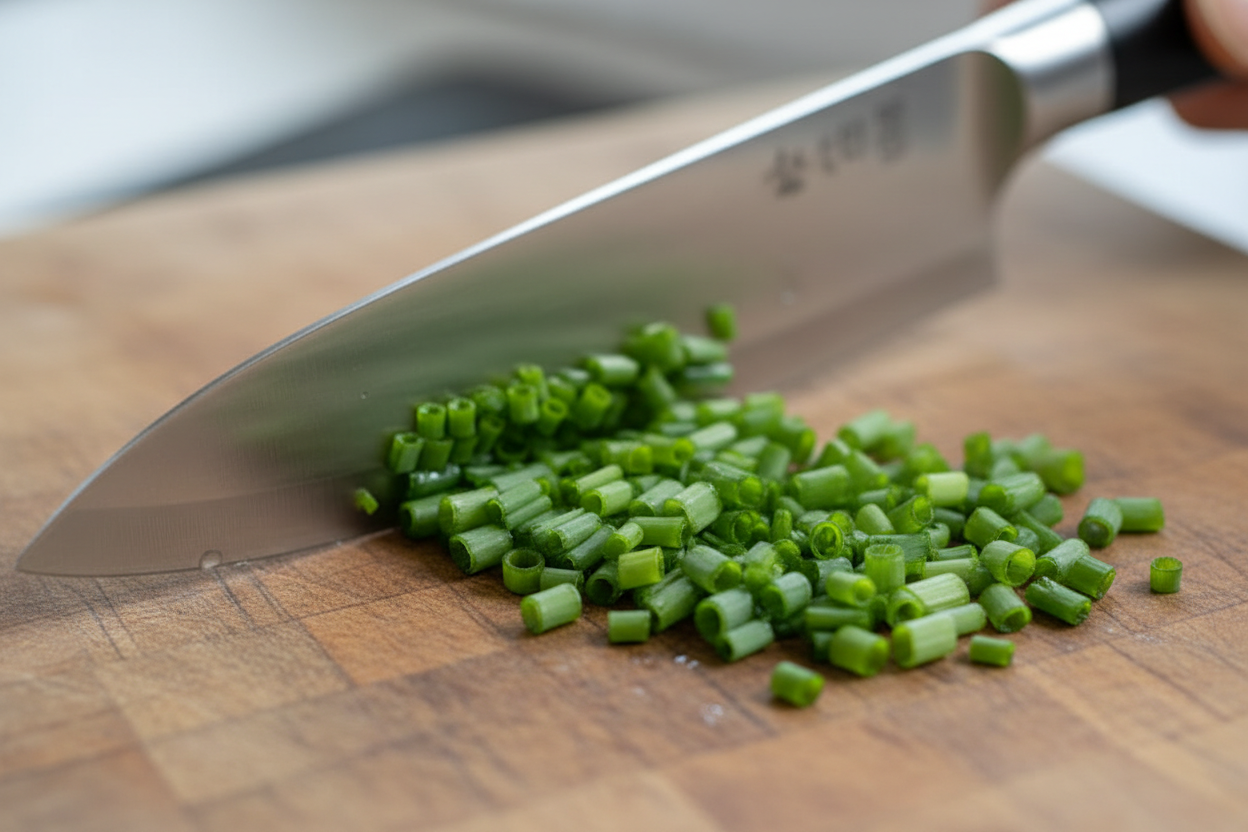
- Chop Uniformly: Using a sharp knife or kitchen shears, chop the chives into small, uniform pieces, typically about 1/4 to 1/2 inch in length. Uniform pieces ensure even drying across the batch.
This meticulous preparation guarantees that your chives are clean, dry, and ready for whichever drying method you choose.
Method 1: Using a Food Dehydrator
A food dehydrator offers the most controlled and efficient method for drying chives. It circulates warm air at a consistent, low temperature, drawing out moisture without cooking the herbs.
- Arrange Chives: Spread the chopped chives in a single, even layer on the dehydrator trays. Avoid overcrowding, as this can impede airflow and prolong drying time.
- Set Temperature: Set your food dehydrator to a low temperature, typically between 95°F and 115°F (35°C-46°C). Higher temperatures can cook the chives, diminishing their flavor and color.
- Dehydrate: Allow the chives to dehydrate for several hours, usually 4 to 8 hours, depending on humidity levels and the thickness of your chive pieces.
- Check for Dryness: The chives are fully dry when they are brittle and crumble easily between your fingers. They should not feel pliable or soft.
Dehydrators are excellent for dehydrating fresh herbs, offering reliable results and consistent quality. Many food dehydrator herb recipes benefit from perfectly dried chives.
Method 2: The Oven Technique
If you do not own a food dehydrator, your oven can serve as an effective alternative for oven drying garden yields. The key is to use the lowest possible temperature and ensure proper ventilation.
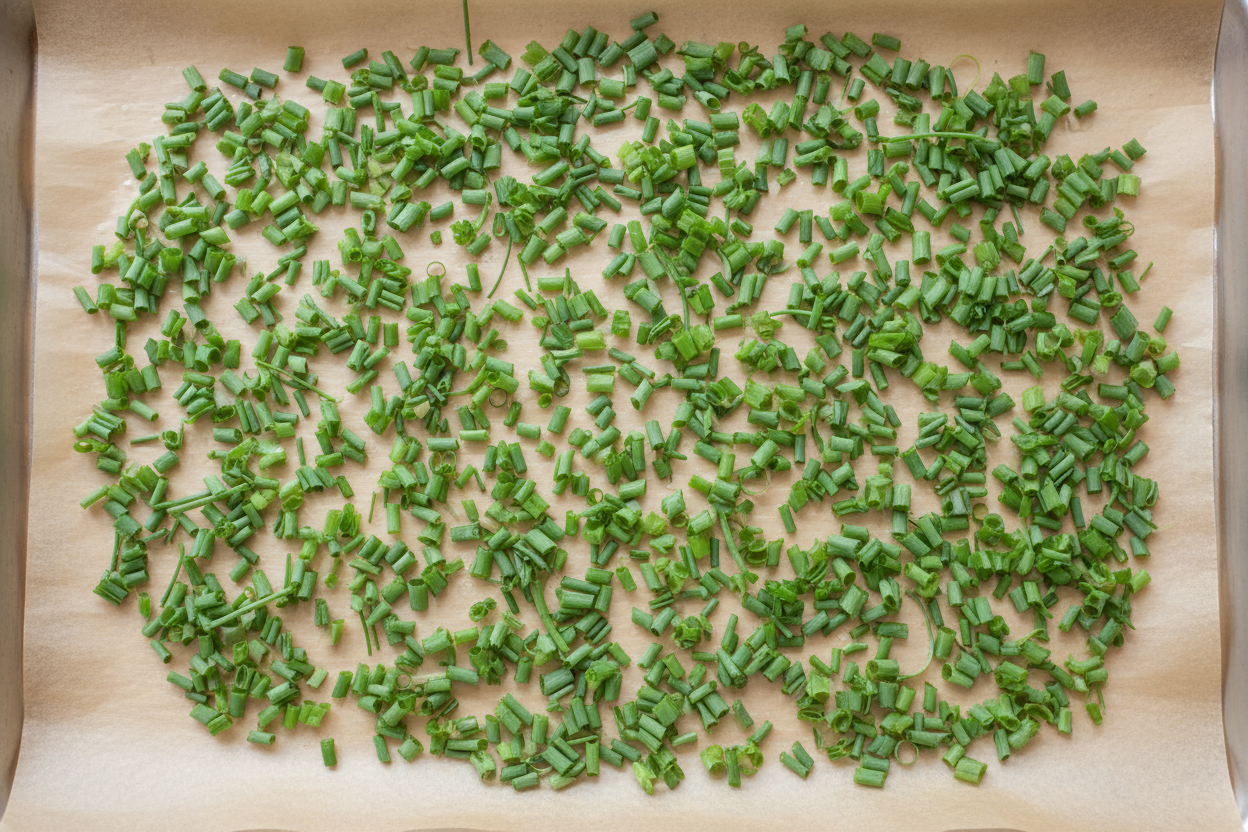
- Prepare Baking Sheets: Line baking sheets with parchment paper. Spread the chopped chives in a single, even layer on the prepared sheets.
- Set Oven Temperature: Preheat your oven to its absolute lowest setting, typically around 150°F to 180°F (65°C-82°C). If your oven runs hotter, you may need to prop the oven door open slightly with a wooden spoon to allow moisture to escape and prevent the chives from cooking.
- Dry Chives: Place the baking sheets in the oven. The drying process can take anywhere from 2 to 4 hours.
- Rotate and Monitor: Stir the chives every 30 minutes to an hour to promote even drying. Keep a close eye on them to prevent burning.
- Check for Dryness: As with the dehydrator method, the chives are dry when they are crisp and crumble easily.
This method requires more active monitoring but yields similarly good results for dried chives.
Method 3: Traditional Air Drying
Air drying is the simplest and most traditional method, requiring no special equipment. This technique is particularly suitable for air drying alliums and other herbs with relatively low moisture content.
- Bundle Chives: Gather small bunches of prepared chives and tie them securely at the stem end with kitchen twine. Ensure the bundles are not too large, as this can trap moisture.
- Hang in a Well-Ventilated Area: Hang the bundles upside down in a warm, dry, and well-ventilated room, away from direct sunlight. A pantry, attic, or even a corner of your kitchen can work, provided there is good air circulation. Avoid humid areas, which can lead to mold.
- Protect from Dust: For added protection, you can place a paper bag (with holes punched for air circulation) over each bundle.
- Dry: Air drying can take several days to two weeks, depending on the humidity and temperature of your environment.
- Check for Dryness: The chives are fully dry when they are brittle and easily crumble.
This method is gentle and preserves much of the chives’ delicate flavor, though it takes the longest.
Handling the Blossoms
Chive blossoms are not only beautiful but also edible, offering a milder onion flavor. Preserving chive blossoms can add a unique touch to your culinary creations.
- Separate Petals: Gently separate the individual florets from the main blossom head.
- Dehydrator/Oven Method: Spread the florets in a single layer on dehydrator trays or parchment-lined baking sheets. Dry them using the same low-temperature settings as for the chopped chives. They will dry more quickly due to their smaller size and delicate nature.
- Air Drying: You can also air dry chive blossoms by laying them on a fine mesh screen in a well-ventilated area, turning them occasionally until dry and crisp.
Once dried, these vibrant blossoms can be used as a colorful garnish or infused into oils and vinegars.
Proper Storage in Jars
Once your chives are thoroughly dried, correct storage is crucial for maintaining their flavor and extending their shelf life.
- Cool Down Completely: Allow the dried chives to cool to room temperature before storing. Warm herbs can create condensation in the storage container, leading to spoilage.
- Airtight Containers: Transfer the dried chives to airtight glass jars or other sealed containers. Mason jars are ideal for storing dried herbs in jars.
- Dark, Cool Place: Store the sealed containers in a cool, dark pantry or cupboard, away from direct sunlight and heat sources. Light and heat can degrade the chives’ flavor and color over time.
- Check for Moisture: After a few days of storage, check the jars for any signs of condensation. If moisture is present, the chives were not fully dry. Spread them out and re-dry them using your chosen method before re-storing.
Properly stored dried chives can retain their quality for up to a year, providing a consistent source of garden flavor.
Culinary Uses for Dehydrated Herbs
Dried chives are a versatile ingredient in the kitchen. Their mild onion flavor works well in a variety of dishes without overpowering other ingredients.
- Seasoning: Use them to season eggs, potatoes, roasted vegetables, and salads.
- Dressings and Dips: Incorporate them into homemade salad dressings, sour cream dips, or cream cheese spreads.
- Soups and Stews: Add dried chives to soups, stews, and casseroles for an aromatic boost.
- Baking: Mix them into savory muffins, biscuits, or bread doughs.
Remember that dried herbs are generally more potent than fresh herbs. Start with a smaller amount and add more to taste.
Frequently Asked Questions
Q: Can I dry chives in the microwave?
A: While technically possible, microwave drying is not recommended for chives. It can easily cook them, leading to a loss of flavor and an undesirable texture. The low, slow methods described above are superior.
Q: How can I tell if my chives are fully dry?
A: Fully dried chives will be brittle and easily crumble when crushed between your fingers. They should not feel pliable, spongy, or have any discernible moisture.
Q: Do dried chives taste as good as fresh chives?
A: Dried chives retain a good portion of their flavor, but it is generally milder than fresh chives. They offer a concentrated essence that works well in cooked dishes where the fresh herb might lose its potency.
Q: Can I dry other herbs using these methods?
A: Yes, these methods for dehydrating fresh herbs are generally applicable to many other herbs such as oregano, thyme, rosemary, and mint. Drying times may vary depending on the herb’s moisture content and leaf thickness.
By mastering these simple techniques for how to dry chives, you can enjoy the delicious taste of your garden’s bounty all year round.
For more gardening tips, preservation hacks, and delicious recipes, be sure to follow our community on Facebook. We share fresh ideas daily. Find us at our Facebook page.
Simple Dehydrated Summer Herbs
Ingredients
- 2 cups Fresh chives washed and chopped evenly
- 4 cups Cold water for washing
- 0.5 cups Chive flowers optional inclusion
Instructions
- Rinse the fresh herbs thoroughly in the cold water to remove any garden dirt or debris.
- Pat them completely dry using clean paper towels, then chop them into uniform 1/4-inch pieces.
- Spread the pieces in a single layer on a parchment-lined baking sheet or dehydrator tray. Include the blossoms if desired.
- Heat at 95 degrees Fahrenheit in a dehydrator or the lowest possible oven setting for 2 to 3 hours until completely brittle.
- Allow the herbs to cool entirely before transferring them to an airtight glass jar for long-term pantry storage.
For more daily recipes and tips, follow us on Facebook!
Click here to join our community!