
Embracing the rich flavors and comforting textures of the autumn season is made effortless with a perfectly oven baked butternut squash. This straightforward recipe transforms a humble winter squash into a dish that is both deeply satisfying and incredibly versatile. Whether you are looking for a simple, healthy vegetable side dish for a weeknight meal or a foundational ingredient for more complex creations, understanding how to cook squash in the oven properly is a valuable skill. Roasting butternut squash brings out its inherent sweetness, creating a caramelized exterior and a tender, creamy interior that is hard to resist.
The Best Way to Roast Winter Squash
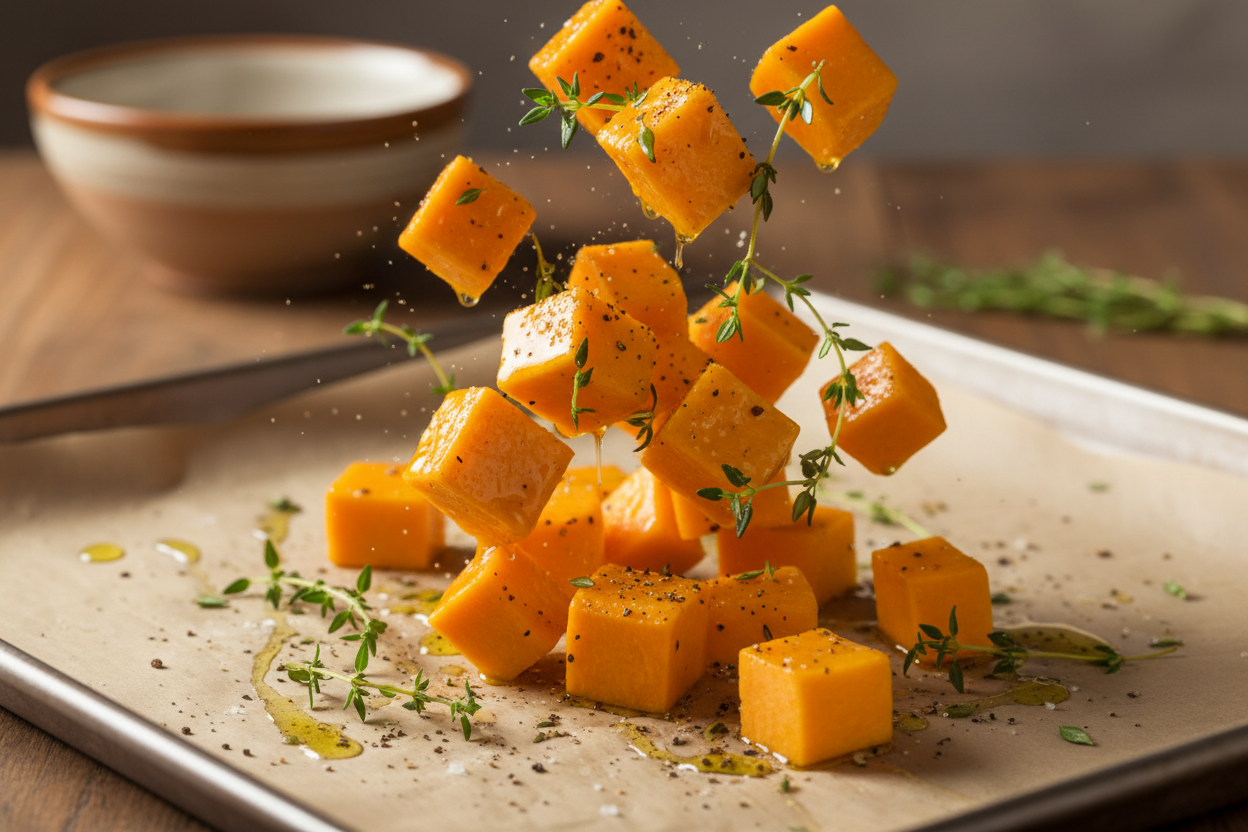
The secret to exceptional roasted winter squash lies in a few fundamental principles: proper preparation, balanced seasoning, and precise oven temperature. By adhering to these, you unlock the full potential of this vibrant autumn vegetable. Roasting at a higher temperature, such as 400°F (200°C), ensures the exterior gets beautifully browned and slightly crispy, while the inside becomes wonderfully soft. The natural sugars within the squash caramelize, developing a depth of flavor that steaming or boiling simply cannot achieve. This method also creates a distinct textural contrast, offering both tender bites and deliciously chewy edges. We elevate this process by incorporating just the right amount of fat and aromatics. A drizzle of 2 tbsp olive oil helps facilitate that desired caramelization and prevents the squash from sticking to the baking sheet. The addition of 1 tsp fresh thyme introduces an earthy, fragrant note that complements the squash’s sweetness without overpowering it, creating a truly memorable thyme seasoned butternut.
Why This Recipe is a Kitchen Staple
This particular recipe for oven baked butternut squash stands out as a kitchen staple for several compelling reasons. It delivers a rich, caramelized side dish with minimal effort and common ingredients. Roasting not only enhances the squash’s natural sweetness but also creates a delicate balance with savory, earthy notes from the fresh thyme and a touch of sharpness from black pepper. The result is a dish that is deeply comforting and nutritious.
This recipe aligns perfectly with the demand for easy vegan sides, requiring no animal products and relying on the inherent goodness of whole foods. Butternut squash is a powerhouse of nutrients, packed with vitamins A and C, fiber, and antioxidants, making this an exceptionally healthy vegetable side dish. Its vibrant orange hue signals its beta-carotene content, vital for good vision and immune health. Beyond its health benefits, its versatility is unmatched. It serves beautifully as a standalone side dish, but also integrates seamlessly into salads, grain bowls, or as a base for soups and sauces. For those exploring seasonal eating, this preparation method highlights one of the most beloved autumn vegetables, making it a recurring favorite from late summer through winter. Its simplicity ensures that even novice cooks can achieve impressive results, solidifying its place as a reliable and rewarding recipe for any home cook.
Ingredients Needed
To prepare this flavorful oven baked butternut squash, you will need a concise list of high-quality ingredients. Each plays a crucial role in developing the final taste and texture of the dish.
- 1 medium Butternut squash: Choose a squash that feels heavy for its size, indicating good moisture content. It will be peeled, seeded, and cubed into uniform 1-inch pieces.
- 2 tbsp Olive oil: A good quality extra virgin olive oil is recommended. It coats the squash, promoting even caramelization and preventing the cubes from sticking to the baking sheet.
- 1 tsp Fresh thyme: Fresh herbs provide a brighter, more aromatic flavor than dried. Thyme’s earthy, slightly floral notes are a perfect match for the sweet butternut squash.
- 1/2 tsp Black pepper: Freshly cracked black pepper offers a pungent warmth that enhances the overall flavor profile.
- 1/2 tsp Kosher salt: This coarse salt not only seasons the squash but also helps draw out its natural moisture, contributing to the caramelization process and balancing the sweetness.
Step-by-Step Instructions
Achieving perfectly roasted winter squash is a straightforward process when following these detailed steps. Precision in preparation and attention to detail during roasting are key to ensuring each piece of butternut squash is tender and beautifully caramelized.
1. Preheat and Prep
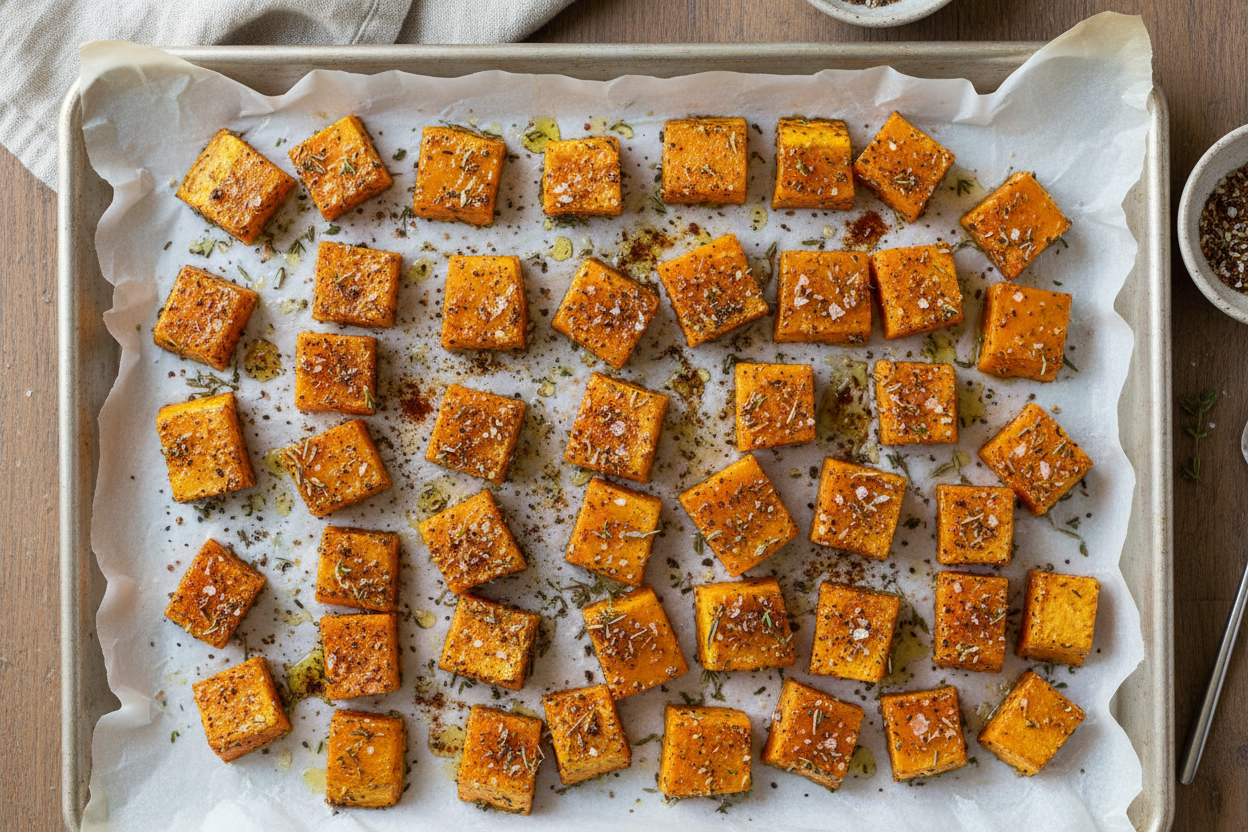
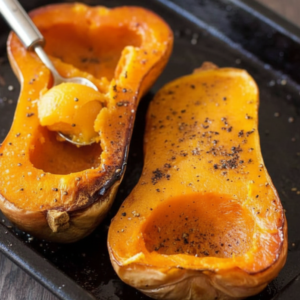
Begin by preheating your oven to a precise 400°F (200°C). This high temperature is essential for achieving the desired caramelization and tender texture. While the oven heats, carefully prepare your 1 medium butternut squash. Using a sturdy vegetable peeler, remove the tough outer skin. Once peeled, slice the squash in half lengthwise. Use a spoon to scoop out the seeds and fibrous strands from the center of each half. This ensures a clean, smooth flesh for cooking. Next, cut the squash flesh into uniform 1-inch cubes. Consistency in size is critical for even cooking, preventing some pieces from burning while others remain undercooked. Place the cubed squash onto a large, sturdy baking sheet, ensuring there is ample space.
2. Season
With the 1-inch squash cubes spread on the baking sheet, it is time to season them. Drizzle the entire surface with 2 tbsp olive oil. This coats each piece, helping them to brown evenly and prevents sticking. Next, sprinkle 1 tsp fresh thyme, 1/2 tsp black pepper, and 1/2 tsp kosher salt evenly over the squash. Take your time to toss the cubes thoroughly, using your hands or a spatula, until every single piece is well-coated with the oil and seasonings. This uniform distribution ensures consistent flavor and optimal caramelization across all the sheet pan squash pieces. Ensure the pieces are not overcrowded, as this can lead to steaming instead of roasting.
3. Roast
After seasoning, spread the coated squash cubes out on the baking sheet in a single layer. Avoid overcrowding the pan; if necessary, use a second baking sheet to give the squash enough space. Place the baking sheet into the preheated 400°F (200°C) oven. Bake for a total of 35-40 minutes. It is crucial to toss the squash cubes halfway through the cooking time, around the 18-20 minute mark. This ensures even browning and tenderization on all sides. Continue baking until the edges of the squash are wonderfully caramelized and the flesh is easily pierced with a fork, indicating it is perfectly fork-tender. This method demonstrates exactly how to cook squash in the oven to perfection.
How to Mash for Pasta Sauce
One of the most innovative and delicious uses for this perfectly oven baked butternut squash is to transform it into a creamy, rich sauce for pasta. This is an excellent way to utilize any leftovers or specifically prepare a batch for this purpose. The roasting process intensifies the squash’s natural sweetness, creating a deeply flavorful base for a sauce.
To create this delectable sauce, transfer the warm, cooked squash cubes into a food processor or a high-speed blender. The warmth of the squash helps it blend more smoothly. To achieve the desired consistency, you will need to add a liquid. A splash of vegetable broth works wonderfully, adding an extra layer of savory depth. Alternatively, a little pasta water from your cooked pasta can be used; its starches help emulsify the sauce, making it extra silky. Blend the mixture until it is completely smooth and creamy, without any lumps. Once blended, toss this luxurious pureed squash for pasta with your favorite cooked pasta. For an added layer of flavor and richness, consider stirring in a little parmesan cheese, or for a dairy-free option, nutritional yeast can provide a similar savory, cheesy note. This simple transformation elevates a side dish into a main course, offering a comforting and wholesome meal option.
Frequently Asked Questions
Do I have to peel the squash before cooking?
Yes, for this specific cubed method, peeling the 1 medium butternut squash is highly recommended. The skin of butternut squash can be quite tough and fibrous, making it unpleasant to eat and difficult to achieve a smooth texture if you plan to mash or puree it. Removing the skin ensures a uniformly tender and edible result.
How long do leftovers last?
Properly stored, any leftover oven baked butternut squash will retain its quality and flavor for a few days. Transfer the cooled roasted squash into an airtight container. It can be safely stored in the refrigerator for up to 5 days. It reheats beautifully, whether in the microwave for a quick warm-up or gently on the stovetop over low heat.
This simple yet profound method for preparing oven baked butternut squash offers a delicious and adaptable foundation for countless meals. It consistently delivers a nutritious and comforting dish that celebrates the best of autumn vegetables. Its ease of preparation and the depth of flavor it provides make it an indispensable recipe.
To discover more inspiring recipes, seasonal tips, and culinary adventures, we invite you to connect with our vibrant community. Follow our Facebook page for daily updates and kitchen creativity.
Roasted Thyme Butternut Squash
Ingredients
- 1 whole Butternut squash medium, peeled, seeded, and cut into 1-inch cubes
- 2 tbsp Olive oil extra virgin preferred
- 1 tsp Fresh thyme leaves only, roughly chopped
- 1/2 tsp Black pepper freshly cracked
- 1/2 tsp Kosher salt to taste
Instructions
- Preheat your oven to 400°F (200°C) and line a baking sheet with parchment paper.
- Place the cubed squash onto the baking sheet. Drizzle with olive oil and sprinkle with thyme, black pepper, and salt. Toss until the cubes are evenly coated.
- Spread the squash into a single, even layer to ensure proper roasting rather than steaming.
- Bake for 35 to 40 minutes, tossing halfway through, until the squash is tender and lightly browned on the edges.
- Serve warm as a side dish, or transfer to a blender with a splash of warm broth to mash into a creamy pasta sauce.
For more daily recipes and tips, follow us on Facebook!
Click here to join our community!