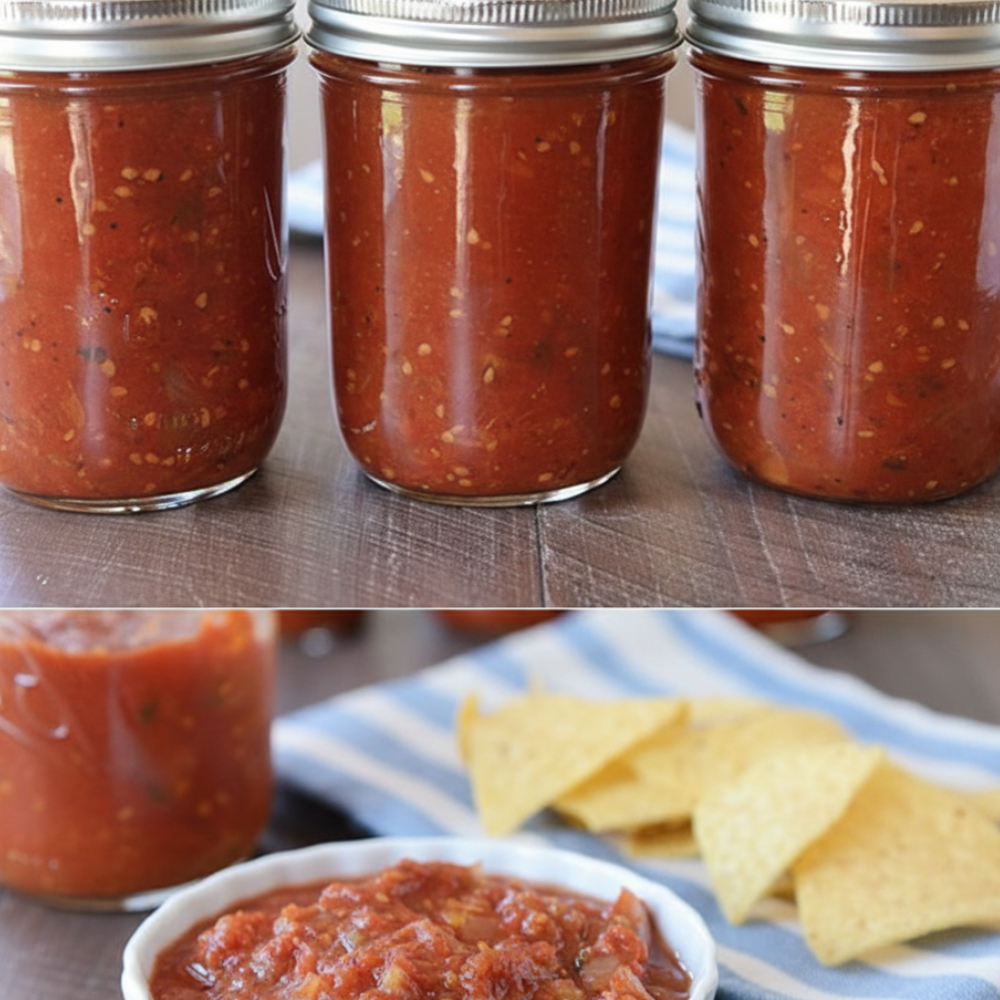
There is an undeniable satisfaction that comes from creating something truly fresh and flavorful in your own kitchen. When it comes to vibrant, crowd-pleasing condiments, preparing the **Best Homemade Salsa** stands out as a culinary achievement that requires minimal effort for maximum reward. This guide focuses on crafting a superb fresh tomato dip that surpasses any store-bought alternative, offering a burst of garden-fresh taste. We cover both immediate enjoyment and the meticulous process for a robust canning salsa recipe, ensuring you can savor the peak of tomato season long after the harvest.
## Why Making Your Own Salsa is Worth It
Opting for homemade salsa offers distinct advantages over pre-packaged varieties. Foremost among these is the unparalleled flavor profile. Commercial salsas often rely on preservatives and added sugars or sodium to extend shelf life, which can mute the natural brightness of the vegetables. By crafting your own, you maintain complete control over every ingredient, ensuring a pure, unadulterated taste. This approach allows the true essence of each component to shine through, creating a more dynamic and satisfying experience.
Beyond flavor, the texture of a homemade salsa is superior. Our recipe yields a distinctly chunky authentic salsa, far from the often watery or overly pureed textures found in jars. This substantial texture is perfect for scooping with sturdy tortilla chips, providing a satisfying mouthfeel with every bite. Imagine a rich, vibrant salsa bursting with diced tomatoes, crisp onion, and the subtle warmth of fresh jalapeños. This is the hallmark of a truly great homemade preparation.
Preparing salsa from scratch also connects you more deeply with the culinary process. It is a rewarding endeavor, whether you are simply assembling ingredients for an impromptu gathering or meticulously preparing batches for preserving tomatoes. For those seeking that elusive taste of a truly great Mexican restaurant style salsa, the answer often lies in the quality of fresh ingredients and a simple, well-executed recipe. This hands-on method allows for subtle adjustments to suit personal preferences, making each batch uniquely yours. It eliminates concerns about hidden additives or excessive sodium, providing a healthier and more transparent option for your family and guests.
## Essential Ingredients for the Perfect Batch
The foundation of any exceptional salsa lies in its ingredients. For this recipe, quality and freshness are paramount. We use a precise combination of fresh produce and essential seasonings to achieve the ideal balance of flavor and texture. Do not be tempted to deviate from this list, as each component plays a critical role in the final product.
* **6 large Roma or vine-ripened tomatoes, diced:** These tomatoes are chosen for their firm flesh and lower water content, which contributes to the desired chunky texture and concentrated tomato flavor. Dicing them ensures even distribution throughout the salsa.
* **1 cup white onion, finely chopped:** White onion provides a crisp, pungent bite that is characteristic of classic salsa. Finely chopping ensures it integrates well without overpowering other flavors.
* **2 whole jalapeños, seeded and minced:** Jalapeños deliver a fresh, moderate heat. Seeding is crucial to control the spice level, making the salsa enjoyable for a wider audience. Mincing them distributes the heat evenly.
* **0.5 cup fresh cilantro, chopped:** Cilantro is indispensable for its bright, herbaceous, and slightly citrusy notes. Freshly chopped cilantro elevates the entire flavor profile. This addition forms the heart of a vibrant jalapeno and cilantro dip.
* **2 tbsp fresh lime juice:** Freshly squeezed lime juice is a critical acid component, brightening all the other flavors and adding a zesty tang. It is a non-negotiable ingredient for authentic taste.
* **2 cloves garlic, minced:** Garlic provides a pungent aromatic depth that rounds out the savory profile of the salsa. Mincing ensures its potent flavor is evenly dispersed.
* **1 tsp salt:** Salt is essential for seasoning, enhancing the natural flavors of the vegetables and balancing the acidity. Adjusting to taste at the end is always recommended.
* **0.5 tsp cumin:** Ground cumin adds an earthy, warm spice note that is fundamental to the authentic taste of many Mexican-inspired dishes. This small amount contributes significantly to the overall complexity.
Each ingredient, in its specified quantity, works in harmony to create a balanced, flavorful, and truly satisfying salsa.
## Step-by-Step Instructions
Crafting this delicious salsa is a straightforward process, relying on fresh preparation and simple assembly. Follow these steps carefully to ensure the best results, whether you are serving it immediately or preparing it for preservation.
1. Begin by preparing your fresh produce. Take the **6 large Roma or vine-ripened tomatoes** and dice them uniformly. Place these diced tomatoes into a large mixing bowl. Next, finely chop **1 cup of white onion**. Add the chopped onion to the bowl with the tomatoes. Finally, take the **2 whole jalapeños**, carefully seed them to manage the heat, and then mince them thoroughly. Add the minced jalapeños to the bowl. Ensuring consistent dice sizes contributes to a harmonious texture in the finished salsa.
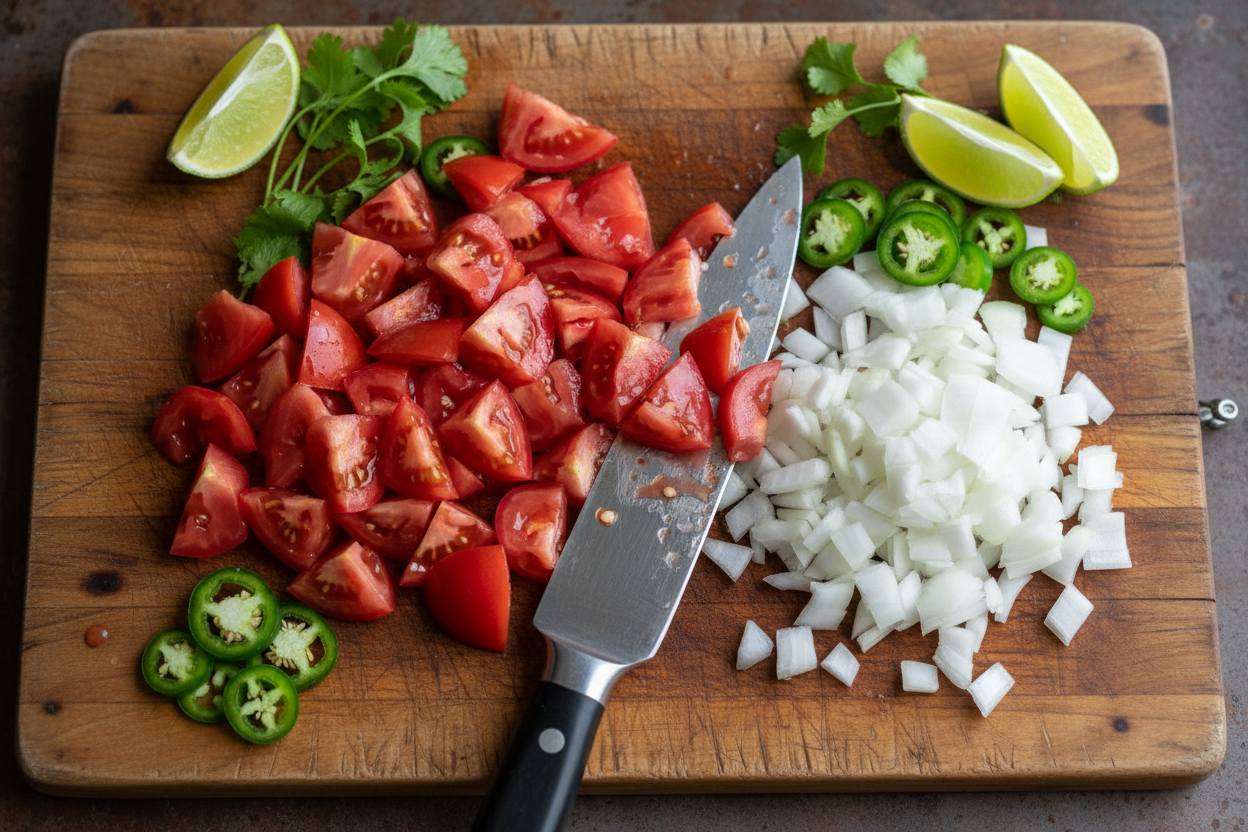
2. Once your primary vegetables are in the bowl, it is time to introduce the aromatic and seasoning elements. Add the **2 cloves of minced garlic** to the mixture. Follow this with **0.5 cup of freshly chopped cilantro**. Then, pour in the **2 tbsp of fresh lime juice**. Finally, sprinkle in **1 tsp of salt** and **0.5 tsp of cumin**. These ingredients are crucial for building the complex flavor profile of this homemade pico de gallo style salsa.
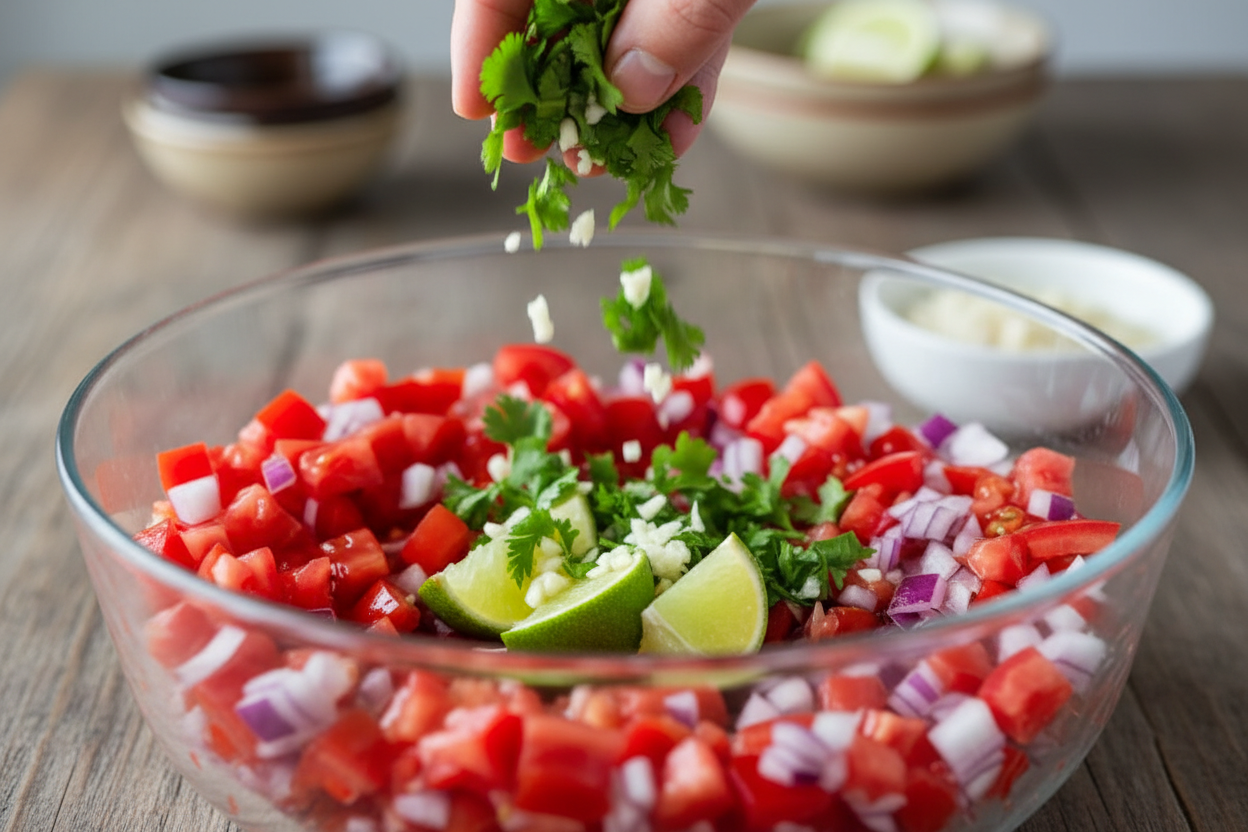
3. With all the ingredients now in the bowl, gently toss them together using a large spoon or spatula. The goal is to combine everything thoroughly without crushing the delicate diced vegetables. Ensure that the seasonings are evenly distributed throughout the tomato and onion mixture. This step allows the individual flavors to begin to meld even before refrigeration.
4. After combining, taste the salsa and adjust the seasoning if necessary. You might find you prefer a little more salt or a touch more lime juice, depending on the sweetness of your tomatoes and your personal preference. Once seasoned to your liking, cover the bowl with plastic wrap and refrigerate for at least **30 minutes**. This resting period is vital; it allows the flavors to deepen and harmonize, resulting in a much more integrated and satisfying taste. Serve chilled with your preferred accompaniment.
5. For those interested in the canning salsa recipe and extending the shelf life of this delicious creation, additional steps are required. Transfer the prepared salsa mixture to sterilized canning jars, ensuring you leave precisely **half an inch of headspace** from the rim of the jar. This headspace is critical for proper sealing. Process the filled jars in a boiling water bath for **15 minutes**. Always consult reliable canning guidelines for your specific altitude and equipment to ensure safety and proper preservation. This method effectively contributes to preserving tomatoes for future use.
## Expert Tips for Serving and Storing
Achieving the perfect salsa experience extends beyond just the recipe; it also involves thoughtful presentation and proper storage. These tips will help you maximize enjoyment and maintain quality.
### Choosing the Right Tortilla Chips
The texture of your dipping vessel significantly impacts the enjoyment of a chunky salsa. We highly recommend using thick, restaurant-style tortilla chips. These chips are specifically designed to be robust enough to withstand the substantial texture and weight of a generously loaded scoop of salsa without breaking. Avoid thin, delicate chips, which can crumble under the pressure, leading to frustration. A sturdy chip ensures a satisfying bite, allowing you to fully appreciate the fresh, vibrant flavors of this easy tortilla chip dip. The satisfying crunch of a thick chip contrasts beautifully with the soft, diced vegetables in the salsa, enhancing the overall sensory experience.
### Canning Safety and Storage
If you choose the canning route for your canning salsa recipe, adherence to safety protocols is paramount. When processing jars in a water bath, it is crucial that the water reaches and maintains a **full rolling boil** throughout the entire **15-minute processing time**. This ensures that the contents of the jars are properly sterilized and that a vacuum seal can form effectively. After processing, carefully remove the jars and allow them to cool undisturbed on a counter for 12-24 hours. During this time, you should hear the distinct “pop” of the lids sealing.
To confirm a proper seal, press down on the center of each lid. If the lid does not flex, it is sealed. Any jars that do not seal properly should be refrigerated and consumed within a few days. Properly sealed jars of salsa can be stored in a cool, dark place for up to one year, offering a fantastic way of preserving tomatoes and enjoying summer’s bounty through colder months. Always label your jars with the date of canning for best practice. This attention to detail guarantees not only extended enjoyment but also peace of mind regarding food safety.
Follow us on Facebook for more recipes and kitchen tips.
Fresh Chunky Tomato Salsa
Ingredients
- 6 large Tomatoes Roma or vine-ripened, diced
- 1 cup White onion finely chopped
- 2 whole Jalapenos seeded and minced
- 0.5 cup Fresh cilantro chopped
- 2 tbsp Lime juice freshly squeezed
- 2 cloves Garlic minced
- 1 tsp Salt kosher or sea salt
- 0.5 tsp Cumin ground
Instructions
- Dice the tomatoes, onion, and jalapenos, placing them into a large mixing bowl.
- Add the minced garlic, chopped cilantro, lime juice, salt, and cumin to the bowl.
- Toss all ingredients together gently until well combined.
- Taste and adjust seasoning if necessary, then cover and refrigerate for at least 30 minutes to allow flavors to meld before serving with tortilla chips.
- For canning, transfer the mixture to sterilized jars leaving half an inch of headspace, and process in a boiling water bath for 15 minutes.
For more daily recipes and tips, follow us on Facebook!
Click here to join our community!