The vibrant flavors of summer’s bounty do not have to fade with the changing seasons. Learning to freeze fresh chives is a practical skill for any home cook looking to extend the life of their garden’s yield or market purchases. Preserving herbs like chives ensures that their delicate, oniony notes are available year-round for your culinary creations. This straightforward process allows you to enjoy the taste of a fresh garden chive harvest long after the growing season ends, making it a cornerstone for efficient kitchen management. Forget bland winter dishes when a simple technique can lock in peak flavor. The ease of this method will surprise you, transforming what might seem like a complex task into a simple, rewarding kitchen routine.
Preparation: The Foundation of Successful Freezing
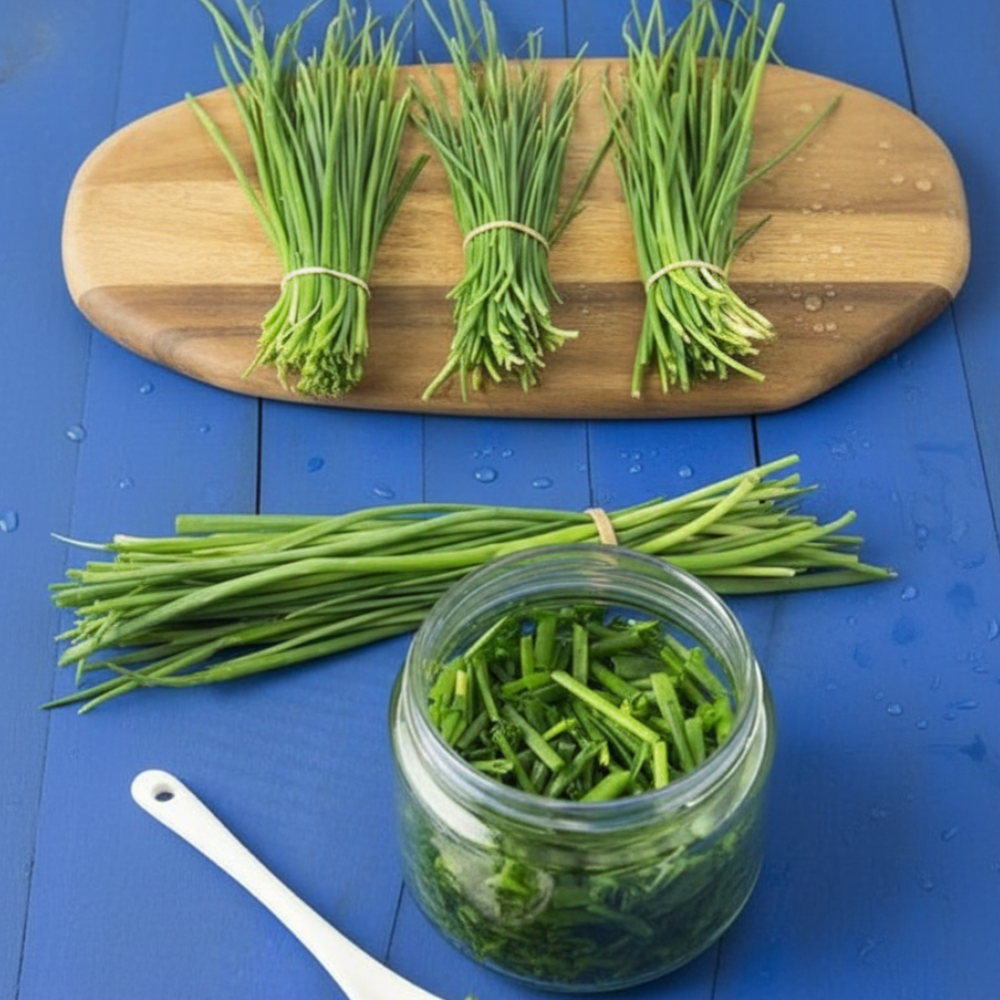
Before you can effectively freeze fresh chives, proper preparation is critical. The goal is to minimize moisture and eliminate any contaminants that could degrade the quality of your frozen herbs. Begin by gathering your freshly harvested chives. Inspect them for any wilted pieces or debris. Washing is the first essential step. Rinse the chives under cool, running water. Be gentle, as chives are delicate. Avoid soaking them, which can lead to waterlogging and loss of flavor.
The most crucial step after washing is thorough drying. Excess moisture leads directly to freezer burn, which compromises both texture and flavor. To prevent this, spread the washed chives on a clean kitchen towel or several layers of paper towels. Gently pat them dry. For optimal results, you can also use a salad spinner to remove the majority of the water. Follow this with a final pat-down. Ensure the chives are bone-dry before proceeding. Any residual water will turn into ice crystals, diminishing the quality of your frozen chives uses later on. This meticulous drying ensures that each piece freezes individually and maintains its integrity.
Two Effective Preservation Methods for Chives
Once your chives are clean and thoroughly dry, you have two primary methods for long-term storage in the freezer. Both are simple and effective for preserving herbs, each offering slight advantages depending on how you plan to use them.
Dry Flash-Freezing for Individual Pieces
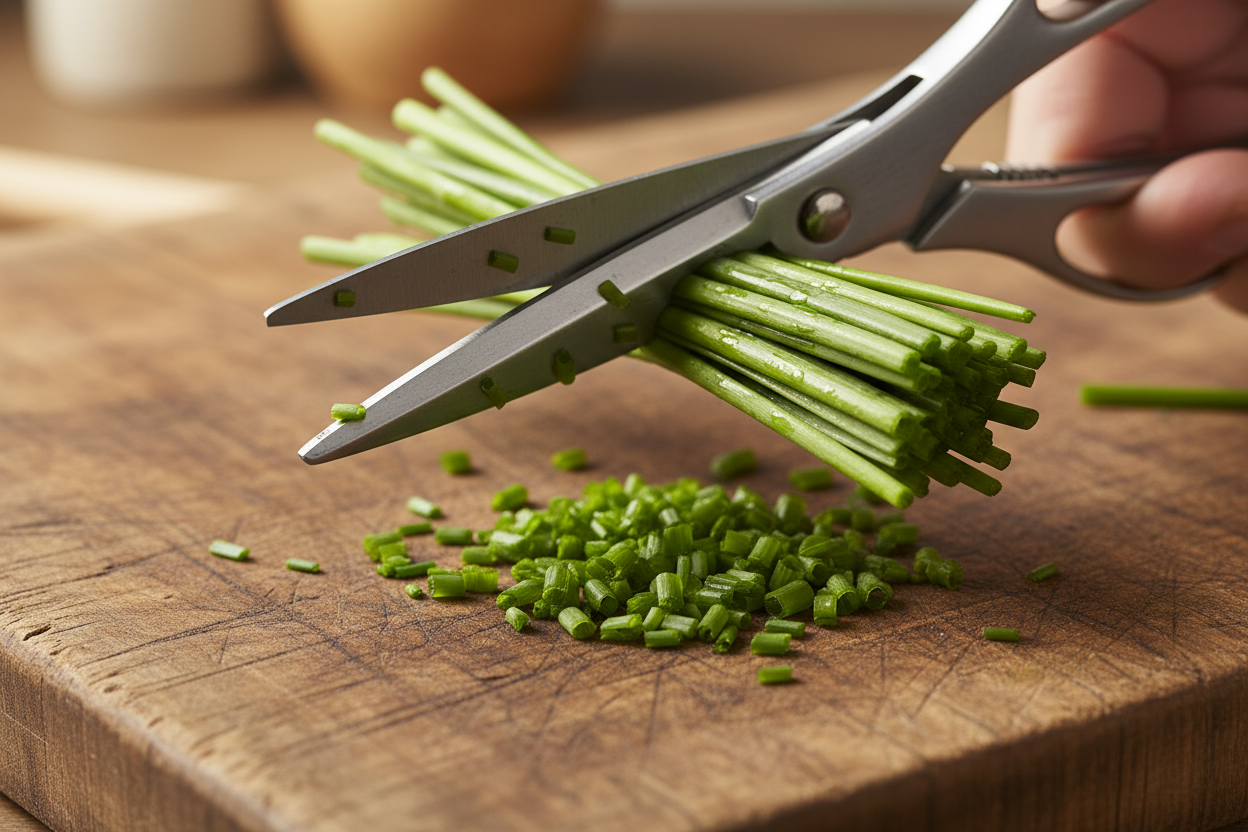
This method is ideal for those who want their frozen chives to remain loose and easily sprinkled into dishes. Flash freezing herbs prevents them from clumping together, allowing for convenient portioning. After your chives are perfectly dry, finely chop them into 1/4-inch pieces. The smaller the pieces, the easier they will be to work with from frozen.
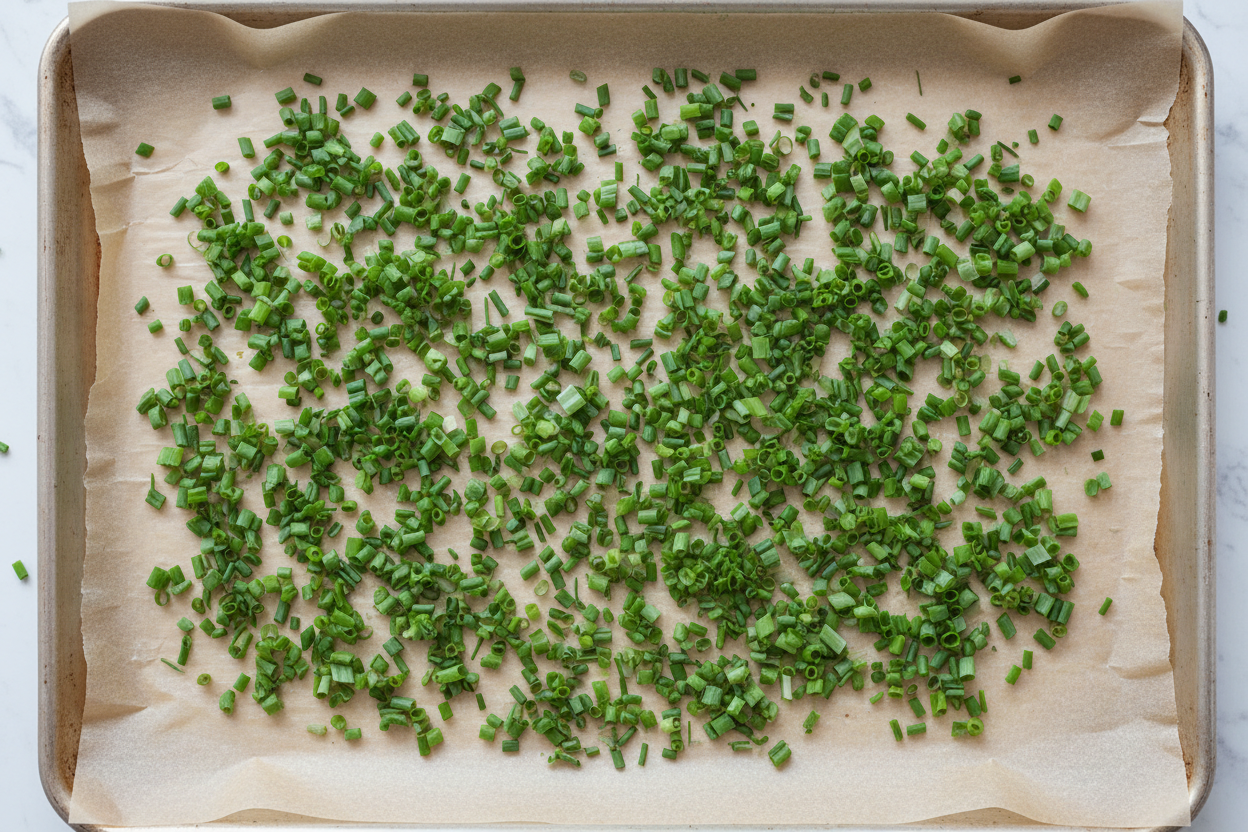
To execute the dry flash-freezing method, spread the finely chopped chives evenly in a single layer on a parchment-lined baking sheet. The parchment paper prevents them from sticking to the sheet. Do not overcrowd the sheet; allow ample space for air circulation around each piece. Place the baking sheet into the freezer for approximately 1 hour. During this time, the individual pieces will freeze solid. This “flash” freezing ensures they retain their separate form. Once frozen, transfer the solid chive pieces to an airtight freezer bag. Remove as much air as possible before sealing to prevent freezer burn. Label the bag with the date. This method is excellent for sprinkling chives over baked potatoes or into scrambled eggs.
Ice Cube Tray Method for Portion Control
The ice cube tray method is another excellent strategy for storing fresh herbs, particularly when you want pre-portioned amounts ready to drop into soups, stews, or sauces. This technique uses a protective medium—either olive oil or water—to encapsulate the delicate leaves, safeguarding their flavor and texture.
Finely chop your thoroughly dried chives into 1/4-inch pieces, just as you would for the dry method. Divide the chopped chives evenly among the compartments of an ice cube tray. Each compartment will become a convenient, single-serving portion. Next, you will add your chosen liquid. For a rich, savory base that integrates well into cooked dishes, pour 2 tbsp of olive oil over the chives in each compartment. The oil not only helps to preserve the chives but also adds a layer of flavor. Alternatively, for dishes where you prefer no added fat, such as lighter sauces or dressings, use 2 tbsp of cold water to cover the chives. The water will freeze around the herbs, offering similar protection. Place the ice cube tray in the freezer until the cubes are completely solid. This usually takes several hours. Once frozen, pop the solid ice cube tray herbs out and transfer them to an airtight freezer bag. Seal tightly, removing excess air, and label with the date. This method is perfect for enriching a pot of soup or adding a herbaceous depth to a pan sauce.
Recipe: Two Methods for Preserving Your Chive Harvest
Here is a clear, step-by-step guide to help you freeze fresh chives using both the dry flash-freezing and the ice cube tray methods. These instructions will ensure your garden chive harvest is perfectly preserved for future culinary endeavors.
Ingredients
* Fresh chives: 1 cup, chopped
* Olive oil: 2 tbsp, for ice cube method
* Cold water: 2 tbsp, for ice cube method
Instructions
1. Wash and Dry Thoroughly: Begin by washing 1 cup of fresh chives under cool, running water to remove any dirt or debris. Spread them on a clean kitchen towel or paper towels and pat them completely dry. Ensure there is no moisture remaining, as this is crucial for preventing freezer burn.
2. Finely Chop: Using a sharp knife or herb scissors, finely chop the dried chives into uniform 1/4-inch pieces. Consistency in size promotes even freezing.
3. Dry Flash-Freezing Method: For preserving chives in their loose form, spread half of the chopped chives evenly in a single layer on a parchment-lined baking sheet. Ensure the pieces do not touch or clump together. Place the baking sheet into the freezer for exactly 1 hour, allowing the chives to individually flash freeze. After an hour, remove the sheet from the freezer. Carefully transfer the frozen chive pieces into an airtight freezer bag. Squeeze out as much air as possible before sealing to prevent ice crystal formation. Label the bag with the contents and date.
4. Ice Cube Tray Method: For pre-portioned chives, divide the remaining half of the chopped chives evenly among the compartments of an ice cube tray. Each compartment should hold a small, manageable portion. Pour 2 tbsp of olive oil over the chives in some compartments, covering them completely. For other compartments, pour 2 tbsp of cold water over the chives, ensuring they are fully submerged. Place the ice cube tray into the freezer until the cubes are completely solid, which typically takes several hours. Once frozen, pop the solid chive cubes out of the tray. Transfer these frozen cubes into a separate airtight freezer bag. Remove excess air and seal tightly. Label the bag with the contents and date for easy identification.
Usage Tips for Your Frozen Chives
Once you have successfully learned how to store chives using these freezing methods, incorporating them into your cooking is effortless. The beauty of frozen chives is their versatility and convenience. You do not need to thaw them before use. In fact, it is often better to use them directly from the freezer to maintain their texture and prevent them from becoming mushy.
One of the most popular frozen chives uses is as a vibrant garnish. Sprinkle them directly over warm dishes like baked potatoes, scrambled eggs, or omelets. The heat from the food will gently thaw the chives, releasing their fresh flavor and aroma. They add a lovely green pop and a mild onion bite.
For cooked applications, simply add the frozen chives directly to your pan or pot a few minutes before the dish is finished cooking. They integrate seamlessly into soups, stews, and casseroles, contributing a subtle savory depth. When making dressings or marinades, the olive oil-encapsulated chive cubes are particularly convenient. Just drop a cube into your mixing bowl, and as it thaws, the chives and oil will blend right into your other ingredients. They also work wonderfully in creamy sauces for pasta or vegetables.
Consider adding frozen chives to your homemade herb butters or cream cheese spreads. Mix them in while the butter or cream cheese is soft, then refrigerate until firm. This creates an instant flavor boost for toast, bagels, or grilled steak. When you freeze fresh chives, you are essentially bottling up the essence of summer, ready to be unleashed whenever inspiration strikes. This method of preserving herbs is a testament to mindful cooking and minimal waste, ensuring every bit of your garden’s goodness is savored.
Mastering the art of freezing chives is a straightforward path to year-round flavor. Whether you choose the dry flash-freezing method for sprinkling or the ice cube tray method for pre-portioned convenience, both techniques guarantee a sustained supply of fresh-tasting chives. Embrace these simple steps to ensure your kitchen is always stocked with this versatile herb.
For more cooking tips, recipe ideas, and food preservation techniques, be sure to follow our community on social media. Join us for daily inspiration and connect with fellow food enthusiasts.
Follow our Facebook page for more culinary adventures.

Two Methods for Preserving Your Chive Harvest
Ingredients
- 1 cup Fresh chives chopped
- 2 tbsp Olive oil for ice cube method
- 2 tbsp Cold water for ice cube method
Instructions
- Wash the herbs thoroughly and pat them completely dry with a paper towel.
- Finely chop them into 1/4-inch pieces using a sharp knife or herb scissors.
- For the dry method: Spread the chopped pieces evenly on a parchment-lined baking sheet and freeze for 1 hour. Transfer to an airtight freezer bag.
- For the ice cube method: Divide the chopped pieces into an ice cube tray, cover with olive oil or cold water, and freeze until solid. Transfer cubes to a freezer bag.
For more daily recipes and tips, follow us on Facebook!
Click here to join our community!