
Unlock the incredible potential of sweet corn with a cooking method that guarantees succulent, flavorful results every time. Oven roasted corn transforms a summer classic into an effortless culinary delight, bringing out its natural sweetness and creating kernels that are perfectly tender. Forget messy grills or boiling pots. This simple technique delivers consistent excellence, making it the ultimate easy vegetable side dish for any meal, from a casual weeknight dinner to a festive gathering.
The beauty of this approach lies in its simplicity and effectiveness. You start with fresh ears of corn, a few basic seasonings, and the reliable heat of your oven. The result is a beloved staple, beautifully prepared, and ready to enhance any plate. Embrace the ease of baking as you prepare a dish that embodies the very essence of a delightful summer corn recipe.
Why Choose This Cooking Method?
Opting for the oven to prepare your corn on the cob offers distinct advantages, setting it apart from other cooking methods. The primary benefit is the precise temperature control afforded by an indoor oven. Unlike grilling, where heat can fluctuate, the oven maintains a consistent 400 degrees Fahrenheit, ensuring uniform cooking and preventing burnt spots or undercooked kernels. This consistency is crucial for achieving the desired texture and flavor profile.
This technique also excels at locking in moisture. By wrapping each ear in foil, you create a steaming environment around the corn. This process prevents the corn from drying out, which can be a common issue with direct heat methods. Instead, the steam gently cooks the kernels, leaving them plump, juicy, and incredibly tender. The natural sugars within the corn are caramelized subtly by the dry heat, while the trapped moisture ensures a soft bite.
Furthermore, roasting sweet corn in the oven allows the butter and seasonings to meld directly into each kernel. The foil acts as a flavor incubator, holding all the ingredients close to the corn as it cooks. This concentrated exposure results in a deeply infused flavor that is rich and satisfying. This method ensures that every bite is bursting with savory, buttery goodness, making it a superior way to enjoy your corn.
Finally, the oven offers unparalleled convenience. It frees up grill space for other items or provides a reliable cooking option when outdoor grilling is not feasible. There is no need to monitor coals or gas flames. Simply prepare the corn, place it in the oven, and allow it to cook to perfection. This makes it an ideal choice for busy individuals seeking a high-quality side dish with minimal fuss.
The Essential Ingredients for Perfect Baked Sweet Corn
Creating truly remarkable baked corn on the cob requires a short list of high-quality ingredients. Each component plays a vital role in developing the rich flavor and tender texture of the final dish. Strict adherence to these ingredients and their specific quantities ensures a consistent and delicious outcome every time.
- 4 ears of corn: Begin with fresh, ripe sweet corn. Look for ears with bright green husks that are tightly wrapped and feel firm when squeezed. The silks should be moist and golden brown. Freshness is key to achieving the inherent sweetness that makes this dish so appealing. Avoid ears with dry husks or discolored kernels, as these indicate older corn that may lack flavor and moisture.
- 4 tablespoons butter: Butter is indispensable for imparting a rich, creamy flavor and helping to keep the corn moist. Using exactly 4 tablespoons ensures each ear receives a generous, even coating. Choose unsalted butter to control the overall sodium content of the dish, allowing the natural sweetness of the corn to shine through. The butter will melt and infuse into the corn during the roasting process, enhancing its succulence.
- 1 teaspoon black pepper: Freshly ground black pepper adds a subtle kick and aromatic depth that complements the sweetness of the corn. The specified 1 teaspoon provides enough seasoning without overpowering the delicate corn flavor. Distribute it evenly for a balanced taste in every bite.
- 0.5 teaspoon kosher salt: Salt is crucial for enhancing the corn’s natural sweetness and balancing the other flavors. Kosher salt, with its larger crystals, provides a clean taste and dissolves well during cooking. Using precisely 0.5 teaspoon prevents the corn from becoming overly salty while still bringing out its best qualities. Even distribution is important for uniform seasoning.
These four ingredients, combined with the precise cooking method, form the foundation of a truly exceptional buttered corn in the oven. Resisting the urge to add other spices or herbs for this foundational recipe allows the pure, natural flavors of the corn and butter to be the star.
Step-by-Step Guide to Flawless Oven Roasted Corn
Achieving perfectly tender and flavorful oven roasted corn is a straightforward process when following these precise instructions. Each step is designed to maximize taste and texture, ensuring a delightful outcome.
- Preheat your oven to 400 degrees Fahrenheit. This initial step is critical. Allowing the oven to reach its target temperature before placing the corn inside ensures even cooking from the start. A properly preheated oven helps the corn cook efficiently and consistently, leading to better results.
- Tear off four sheets of aluminum foil, large enough to wrap each ear of corn. You will need one sheet of foil per ear of corn. Ensure each piece is generously sized to allow for a tight seal. This will be essential for creating the steaming environment necessary for tender kernels.
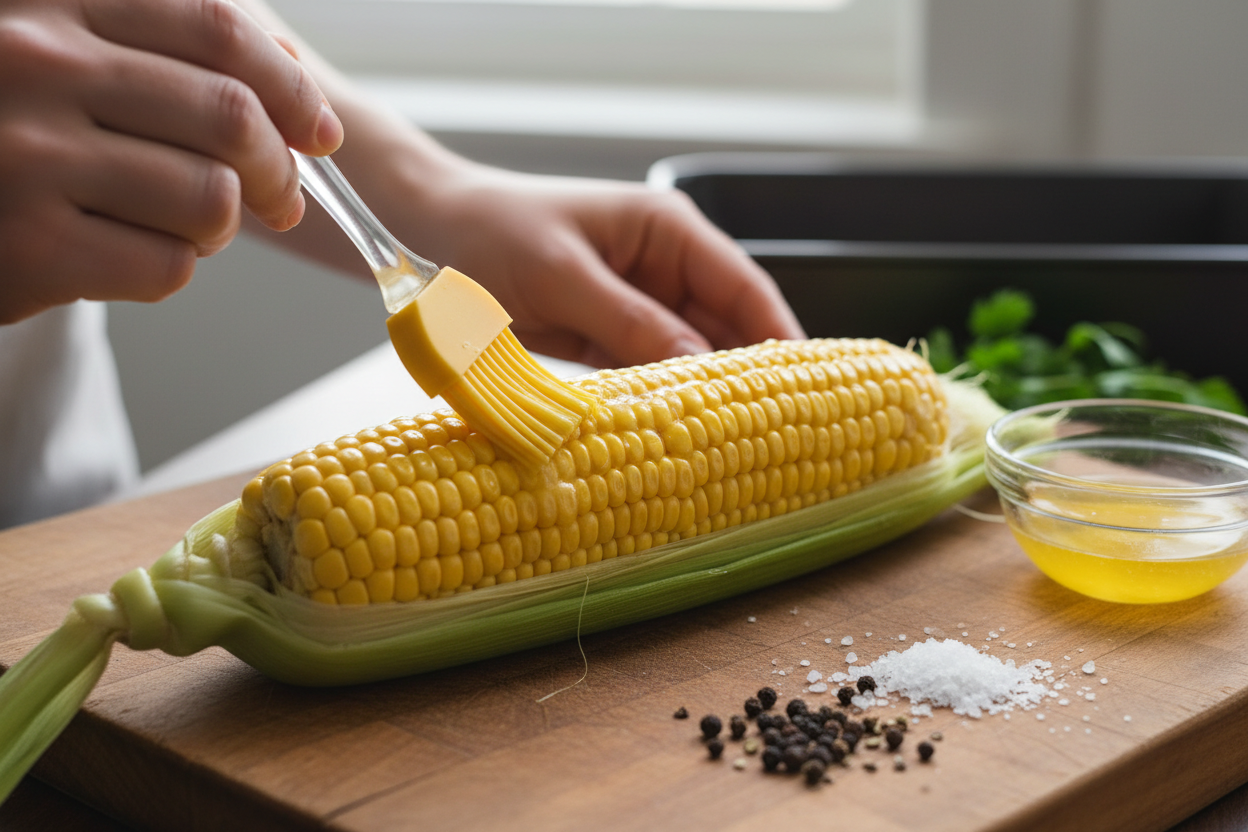
- Brush each ear evenly with 1 tablespoon of melted butter. Melt the 4 tablespoons of butter in a small bowl. Carefully husk each ear of corn, removing all silks. Place each ear onto a sheet of foil. Using a pastry brush or spoon, apply 1 tablespoon of the melted butter to each ear, ensuring all sides are coated. This buttery layer is crucial for moisture and flavor.
- Sprinkle the black pepper and salt evenly over all the ears. Divide the 1 teaspoon of black pepper and 0.5 teaspoon of kosher salt equally among the four buttered ears of corn. Gently rotate each ear to ensure the seasoning adheres to the butter and is distributed thoroughly across the kernels.
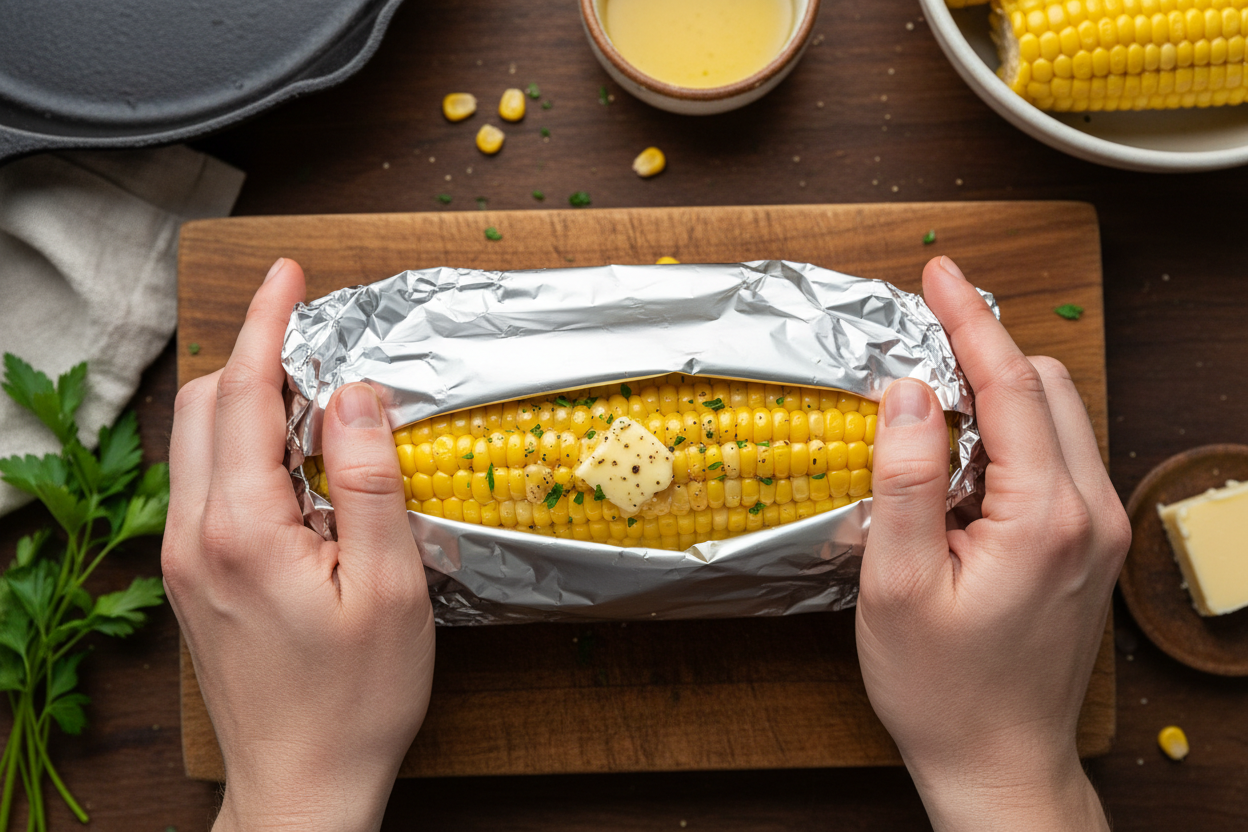
- Wrap each ear tightly in the aluminum foil and place them directly on the center rack. Once seasoned, bring the edges of the foil together over each ear of corn and crimp them tightly to form a secure package. Ensure there are no gaps for steam or butter to escape. Place the four securely wrapped ears directly onto the center rack of your preheated oven.
- Bake for 25 to 30 minutes, turning halfway through, until the kernels are tender. Set a timer for 25 minutes. Approximately 12 to 15 minutes into the baking process, carefully open the oven door and use tongs to turn each foil-wrapped ear. This ensures even cooking on all sides. The corn is ready when the kernels are plump and yield easily when pierced with a fork or knife.
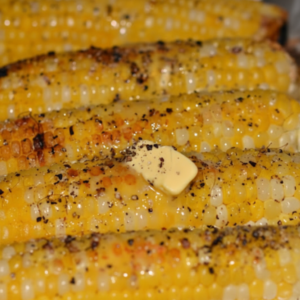
- Carefully unwrap the foil and serve immediately. Once the corn is cooked, remove it from the oven. Be cautious when unwrapping each ear, as hot steam will be released. Use tongs or wear oven mitts. Transfer the hot corn to plates and serve promptly to enjoy its peak flavor and tenderness.
Expert Tips for Tender Kernels Every Time
Achieving consistently tender and flavorful foil-wrapped corn goes beyond just following the steps; a few expert insights can elevate your results. These tips focus on maximizing moisture, flavor, and overall cooking success.
Selecting the Freshest Corn: The foundation of excellent roasted corn is fresh, high-quality produce. When selecting ears of corn, prioritize those with bright green husks that are tightly wrapped. Feel the kernels through the husk; they should be plump and firm, not soft or shriveled. A good indication of freshness is also moist, light brown silk strands. The sooner you cook corn after picking, the sweeter it will be, as its sugars begin to convert to starch shortly after harvest.
The Importance of a Tight Foil Wrap: The instruction to “keep the foil tight to trap the steam and prevent the butter from leaking” is paramount. The aluminum foil acts as a miniature pressure cooker, creating a sealed environment that steams the corn. This steaming process is what yields those wonderfully tender, juicy kernels. If the foil is loose, steam will escape, and the corn may dry out or cook unevenly. Furthermore, a tight seal prevents the melted butter and dissolved salt and pepper from leaking out, ensuring all that delicious flavor stays right where it belongs: on the corn.
Husking and Silking: Before wrapping, ensure you completely husk each ear, removing all strands of silk. While some find leaving a few strands acceptable, thorough removal allows for better butter and seasoning distribution and a more pleasant eating experience. A clean ear allows the corn’s natural beauty to shine.
Handling Hot Corn: Once the corn emerges from the oven, it will be extremely hot. Use tongs or wear oven mitts when unwrapping the foil. The steam released can cause burns, so exercise caution. Allow a moment for the initial burst of steam to dissipate before fully exposing the ear.
Serving Temperature: For the best experience, serve the oven roasted corn immediately after unwrapping. The heat helps keep the kernels plump and the butter perfectly melted and absorbed. Cooling corn can become less tender and the butter may solidify, affecting the texture and flavor.
For truly tender kernels, the tight foil wrap is non-negotiable. It locks in moisture and flavor, creating a perfect steaming environment for your sweet corn.
Frequently Asked Questions about Oven Roasted Corn
Preparing oven roasted corn often leads to questions about storage, reheating, and other practical considerations. Here are answers to some common inquiries to help you get the most out of this delicious side dish.
How long do leftover ears last in the fridge?
Cooked oven roasted corn, when properly stored, can last for 3 to 4 days in the refrigerator. To store, allow the corn to cool completely after cooking. You can either leave it wrapped in its original foil or transfer it to an airtight container. Ensuring it is sealed well will prevent it from drying out and absorbing other odors from the fridge. For best flavor and texture, consume within this timeframe.
Can I freeze oven roasted corn?
Yes, you can freeze cooked oven roasted corn, though the texture may change slightly upon thawing. To freeze, allow the corn to cool completely. You can freeze it on the cob, tightly wrapped in plastic wrap and then foil, or cut the kernels off the cob and store them in an airtight freezer-safe bag or container. Frozen corn on the cob is best used within 2 to 3 months, while cut kernels can last up to 8 months for optimal quality.
What is the best way to reheat oven roasted corn?
To reheat leftover oven roasted corn, you have a few options. The oven is an excellent choice for maintaining its original texture. Wrap the cold corn (still in foil, or re-wrap if it was stored otherwise) and bake at 350 degrees Fahrenheit for 10-15 minutes, or until heated through. You can also briefly microwave it, but be cautious not to overcook, as this can make the kernels tough. For a quick reheat, a minute or two in the microwave is often sufficient.
Should I add water to the foil package when roasting?
No, it is not necessary to add water to the foil package for this recipe. The natural moisture within the corn itself, combined with the butter and the tight foil wrap, creates sufficient steam for perfect tenderness. Adding extra water could potentially make the corn soggy and dilute its natural flavor, which is not the goal for roasting sweet corn.
Can I prepare the corn ahead of time?
You can husk the corn and prepare the foil sheets a few hours in advance. However, for the freshest and most flavorful results, it is best to brush with butter, season with black pepper and kosher salt, and wrap the corn immediately before baking. This prevents the corn from drying out and ensures the butter and seasonings are fully absorbed during the cooking process.
This oven roasted corn recipe provides a reliable and delicious way to enjoy one of summer’s best offerings. Its simplicity, combined with the profound flavor it produces, makes it a consistently winning choice for any meal. The tender, buttery kernels are a testament to the effectiveness of this straightforward method, proving that sometimes, the best dishes are the least complicated.
For more straightforward and delicious recipes, be sure to follow our Facebook page. We share regular updates, cooking tips, and culinary inspiration to help you create amazing meals with ease.
Perfectly Baked Sweet Corn with Butter and Pepper
Ingredients
- 4 ears Corn on the cob husked and cleaned
- 4 tbsp Butter melted
- 1 tsp Black pepper freshly ground
- 0.5 tsp Kosher salt to taste
Instructions
- Preheat your oven to 400 degrees Fahrenheit.
- Tear off four sheets of aluminum foil, large enough to wrap each ear of corn.
- Brush each ear evenly with 1 tablespoon of melted butter.
- Sprinkle the black pepper and salt evenly over all the ears.
- Wrap each ear tightly in the aluminum foil and place them directly on the center rack.
- Bake for 25 to 30 minutes, turning halfway through, until the kernels are tender.
- Carefully unwrap the foil and serve immediately.
For more daily recipes and tips, follow us on Facebook!
Click here to join our community!