
How to Make Powdered Milk at Home: A Complete Guide
In a world where self-sufficiency and mindful living are increasingly valued, learning to make powdered milk at home is a skill that truly stands out. Imagine the satisfaction of knowing you have a ready supply of high-quality dairy, without relying on store shelves or worrying about expiration dates. This comprehensive guide will walk you through everything you need to know, from selecting the right milk to perfecting your homemade powdered milk recipe.
The benefits of crafting your own dry milk powder are numerous. Not only is it a fantastic way to achieve significant cost savings, especially if you have access to bulk fresh milk, but it also drastically reduces food waste. No more pouring out milk that’s just a day past its prime! Beyond frugality, emergency preparedness is a major driver for many. Having a stash of long-term milk storage ensures you’re never without this pantry staple, even during unforeseen circumstances. Compared to store-bought options, your homemade version offers superior taste, allows you to control exactly what goes into it (no additives!), and can retain much of its nutritional value, making it an invaluable addition to your emergency food storage dairy.
At its heart, making powdered milk is a process of dehydration – carefully removing all the water content from fresh milk, leaving behind only the concentrated milk solids. It’s a journey from liquid to luscious powder, and we’re here to guide you every step of the way.
The Science: Whole Milk vs. Skim Milk
When it comes to making powdered milk, the type of milk you choose significantly impacts both the process and the final product’s shelf life and flavor. Understanding the role of fat content is key.
- Fat Content & Shelf Life: Skim milk is the undisputed champion for long-term storage. Because fat can oxidize and go rancid over time, removing it extends the shelf life of powdered milk considerably. A well-made
- Flavor Profile: Whole milk powder, while having a shorter shelf life, offers a richer, creamier flavor due to its higher fat content. When reconstituted, it’s closer to the taste and texture of fresh whole milk, making it ideal for recipes where richness is desired. Skim milk powder, on the other hand, will taste lighter and less creamy, much like liquid skim milk.
For beginners focused on maximum shelf life and ease of dehydration, starting with skim milk is often recommended. However, experimenting with whole milk is certainly possible if you plan to use it within its shorter window.
Equipment You Will Need
Gathering the right tools before you begin will make the process of how to dehydrate milk much smoother. Fortunately, most of these items are likely already in your kitchen:
- Wide, non-stick heavy-bottomed pan: Essential for reducing the milk without scorching. A wide surface area speeds up evaporation.
- Baking sheet with parchment paper or silicone mats: For dehydrating the milk paste evenly. Parchment paper is generally preferred for easy peeling.
- Oven or Food Dehydrator: Your primary tool for removing moisture. We’ll cover both methods.
- Spice grinder, blender, or food processor: To pulverize the brittle milk solids into a fine powder.
- Fine-mesh sieve: Crucial for sifting out any lumps and ensuring a smooth, soluble powder.
Step-by-Step: How to Make Powdered Milk
Let’s dive into the practical steps to create your own DIY dry milk powder. This process involves careful reduction and thorough dehydration.
Phase 1: The Stovetop Reduction
This is where the magic begins, transforming liquid milk into a thick, condensed paste.
- Pour the Milk: Pour your chosen milk (skim is recommended for beginners due to lower fat content) into your wide, heavy-bottomed non-stick pan.
- Bring to a Gentle Boil: Heat the milk over medium-low heat. Bring it to a gentle boil, then immediately reduce the heat to a very low simmer.
- Constant Stirring is Key: This is perhaps the most critical step. You must stir the milk almost constantly, scraping the bottom and sides of the pan to prevent scorching. Scorched milk will impart an unpleasant flavor to your final product.
- Simmer and Reduce: Continue to simmer the milk gently, allowing the water to evaporate. The milk will gradually thicken, changing from liquid to a creamy consistency, much like condensed milk. This phase can take several hours, depending on the amount of milk and the pan’s surface area.
- Recognizing the “Paste” Stage: You’re looking for a very thick, almost taffy-like paste. When you draw a spoon through it, it should leave a clear path that doesn’t immediately fill in. It should be significantly reduced in volume, sticky, and pale yellow. Remove from heat immediately once this consistency is reached.
Phase 2: Dehydrating (Two Methods)
Once you have your milk paste, it’s time to remove the remaining moisture through dehydration. This is where you’ll learn how to dehydrate milk effectively.
Option A: The Oven Method
Dehydrating milk in oven settings is a common and effective method.
- Prepare Baking Sheet: Line a large baking sheet with parchment paper, ensuring it extends slightly beyond the edges. This prevents sticking and makes removal easier.
- Spread the Paste: Evenly spread the milk paste very thinly onto the parchment paper. The thinner you spread it, the faster and more thoroughly it will dry.
- Oven Temperature: Preheat your oven to its lowest possible setting, ideally between 150-170°F (65-77°C).
- Vent the Oven: Prop the oven door open slightly with a wooden spoon or heat-safe object. This allows moisture to escape, preventing the milk from steaming instead of drying.
- Dehydrate: Place the baking sheet in the oven. The dehydration process can take anywhere from 4 to 8 hours, or even longer, depending on your oven and the thickness of the paste.
- Flip (Optional but Recommended): After a few hours, if the edges are dry enough to handle, you can carefully peel the milk sheet from the parchment paper, flip it, and place it directly back on the baking sheet to ensure even drying.
Option B: The Dehydrator Method
A food dehydrator offers precise temperature control and efficient air circulation.
- Tray Preparation: Line your dehydrator trays with non-stick sheets or parchment paper. Again, spread the milk paste as thinly and evenly as possible.
- Temperature Settings: Set your dehydrator to approximately 135°F (57°C). This lower temperature is gentler and prevents scorching.
- Dehydrate: Place the trays in the dehydrator. This method typically takes 6 to 12 hours, depending on the thickness and your dehydrator model. Rotate trays periodically for even drying.
Phase 3: Grinding and Sifting
Once your milk sheets are fully dehydrated, they will be brittle and easily breakable.
- Break into Pieces: Break the dry milk sheets into smaller, manageable pieces.
- Grind to a Powder: Place these pieces into your spice grinder, blender, or food processor. Pulse and grind until you achieve the finest powder consistency possible. Work in batches to avoid overheating your appliance.
- Fine-Mesh Sieve: Pass the powdered milk through a fine-mesh sieve. This step is crucial for solubility, ensuring your final product dissolves smoothly in water without clumps. Any larger particles that don’t pass through the sieve can be re-ground.
Expert Tips for Success
Achieving perfect powdered milk requires patience and attention to detail. Here are some pro tips:
- Avoid Scorching: As mentioned, constant stirring during the stovetop reduction is non-negotiable. Scorched milk will taste burnt and ruin your batch. If you see any browning on the bottom of the pan, scrape it off immediately or transfer the milk to a clean pan.
- Testing Dryness: How do you know if your milk sheets are truly dry? The “snap” test is your best friend. A properly dehydrated milk sheet should be brittle and snap cleanly when bent, much like a potato chip. If it bends or feels leathery, it needs more drying time.
- Preventing Clumps: The enemy of good powdered milk is moisture. Ensure your milk sheets are bone-dry before grinding. After grinding, if you live in a humid environment, you might briefly spread the powder back on a baking sheet and put it in a barely warm oven (turned off, just residual heat) for 15-30 minutes to ensure zero moisture remains. Immediately transfer to airtight storage after this.
“Patience is your most valuable ingredient when making homemade powdered milk. Rushing the dehydration process will lead to a clumpy, less stable product.”
Storage and Shelf Life
Proper storage is paramount for maximizing your powdered milk shelf life and maintaining quality, especially for long-term milk storage.
- Best Containers: For optimal preservation, store your DIY dry milk powder in airtight containers. Mason jars with oxygen absorbers are excellent for shorter to medium-term storage. For true long-term solutions, Mylar bags with oxygen absorbers and sealed with an impulse sealer are ideal, creating an oxygen-free environment.
- Ideal Storage Conditions: Always store powdered milk in a cool, dark, and dry place. Heat, light, and humidity are its enemies and will accelerate spoilage. A pantry, cupboard, or even a basement can work well.
- Labeling Best Practices: Don’t forget to clearly label your containers with the date produced and the type of milk (skim or whole). This helps you rotate your stock and track its freshness. Remember, homemade skim milk powder can last 12+ months, while whole milk powder should ideally be used within 3-6 months.
How to Use and Reconstitute
Reconstituting dry milk is simple, but there’s a trick to getting it perfectly smooth.
- The Golden Rule: Always mix your powdered milk with cold water first. Hot water can cause the proteins to clump and create a lumpy mixture.
- Reconstitution Ratio: A general guideline for reconstituting dry milk is to mix 1/4 cup of powdered milk with 1 cup of cold water. Adjust this ratio slightly to achieve your desired consistency and richness. Whisk vigorously until fully dissolved. For best flavor, allow it to chill in the refrigerator for an hour before serving.
- Culinary Uses: Your homemade powdered milk is incredibly versatile!
- Baking Blends: Add it directly to dry ingredients in recipes like bread, pancakes, or muffins for added richness and nutritional boost.
- Homemade Hot Cocoa Mix: A fantastic base for a creamy, rich hot chocolate.
- Camping Meals: Lightweight and shelf-stable, it’s perfect for adding to oatmeal, sauces, or coffee on outdoor adventures.
- Smoothies: Boost protein and creaminess without adding fresh liquid milk.
Frequently Asked Questions (FAQ)
Here are answers to some common questions about making powdered milk:
-
Can I dehydrate almond or oat milk?
While you can dehydrate other liquid ingredients, plant-based milks like almond or oat milk have different compositions (often less protein and fat, more water/thickeners) than dairy milk. They generally don’t reduce or dehydrate into a fine, stable powder in the same way dairy milk does, and their shelf life after dehydration can be unpredictable. It’s generally not recommended for the same purposes as traditional powdered milk.
-
Why is my powdered milk yellow?
A slight yellowish tint in your powdered milk is normal, especially with whole milk. This color comes from the natural fats and solids present in the milk. If the color is a dark, pronounced yellow or brownish, it could indicate slight scorching during the reduction phase or that the milk was exposed to too high a temperature during dehydration, causing some caramelization or Maillard reaction.
-
Is it cheaper to make or buy powdered milk?
Whether it’s cheaper to make powdered milk or buy it depends on several factors. If you have access to fresh milk at a very low cost (e.g., bulk purchase, farm direct), or if you are looking to preserve milk that might otherwise go to waste, then making your own can be significantly more economical. However, if you’re buying fresh milk at regular retail prices and factoring in your time and energy costs (oven/dehydrator electricity), store-bought powdered milk might sometimes be comparable or even cheaper. The primary advantage of homemade often lies in quality control, lack of additives, and the satisfaction of self-sufficiency.
Learning to make powdered milk is an incredibly empowering skill, offering independence, reducing waste, and bolstering your pantry with a versatile, long-lasting ingredient. Embrace the process, enjoy the results, and savor the taste of your own homemade efforts!
For more fantastic recipes, kitchen hacks, and delicious inspiration, be sure to follow our vibrant community on Facebook!
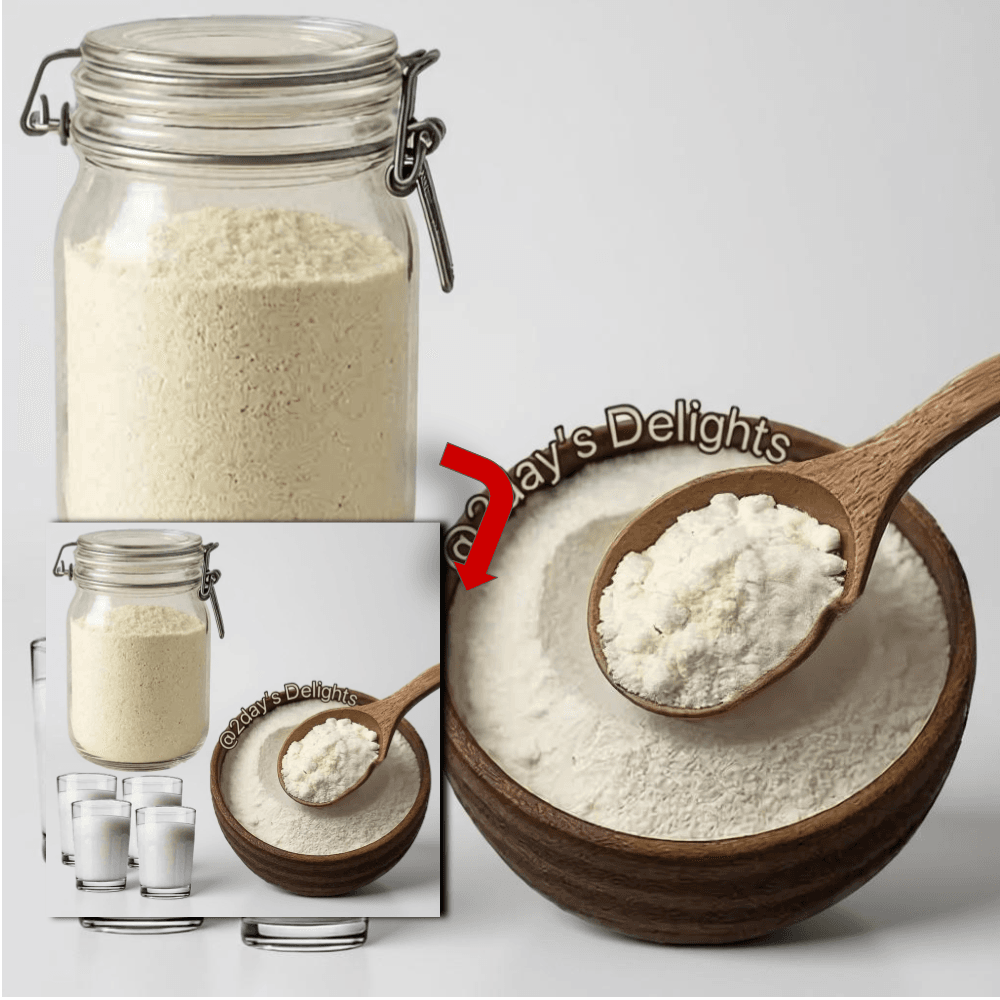
Homemade Powdered Milk (DIY)
Ingredients
- 4 cups fresh milk Whole milk for creaminess, or skim/low-fat milk for longer shelf life.
- 1 tbsp cold water Used only during reconstitution, not the drying process.
- 1 cup warm water Used only during reconstitution.
Instructions
- Pour the milk into a large, heavy-bottomed non-stick pot. Heat over medium-high heat, stirring frequently, until it begins to boil.
- Reduce the heat to medium-low to maintain a gentle simmer. Stir consistently to prevent a skin from forming or the bottom from scorching. Cook until the water evaporates and the milk reduces to a thick, creamy paste (similar to condensed milk).
- Preheat your oven to its lowest setting, ideally between 140°F (60°C) and 150°F (65°C). If using a dehydrator, set it to 135°F (57°C).
- Line a baking sheet or dehydrator tray with parchment paper or a silicone mat. Spread the milk paste in a thin, even layer across the surface.
- Place the tray in the oven or dehydrator. If using an oven, prop the door open slightly with a wooden spoon to allow moisture to escape. Dry for 4 to 8 hours, checking periodically, until the paste is completely dry, brittle, and snaps easily.
- Remove from the heat and let the dried milk sheet cool completely.
- Break the dried milk into shards and place them into a blender, spice grinder, or food processor. Pulse until it becomes a fine powder.
- Pass the powder through a fine-mesh sieve to remove any remaining large granules. Reprocess the granules if necessary.
- Store in an airtight jar or container in a cool, dark place.
- To reconstitute: Mix 1 part powdered milk (approx. 1/4 cup) with a small amount of cold water to form a smooth paste, then whisk in the remaining warm water (approx. 1 cup total) until dissolved.
For more daily recipes and tips, follow us on Facebook!
Click here to join our community!