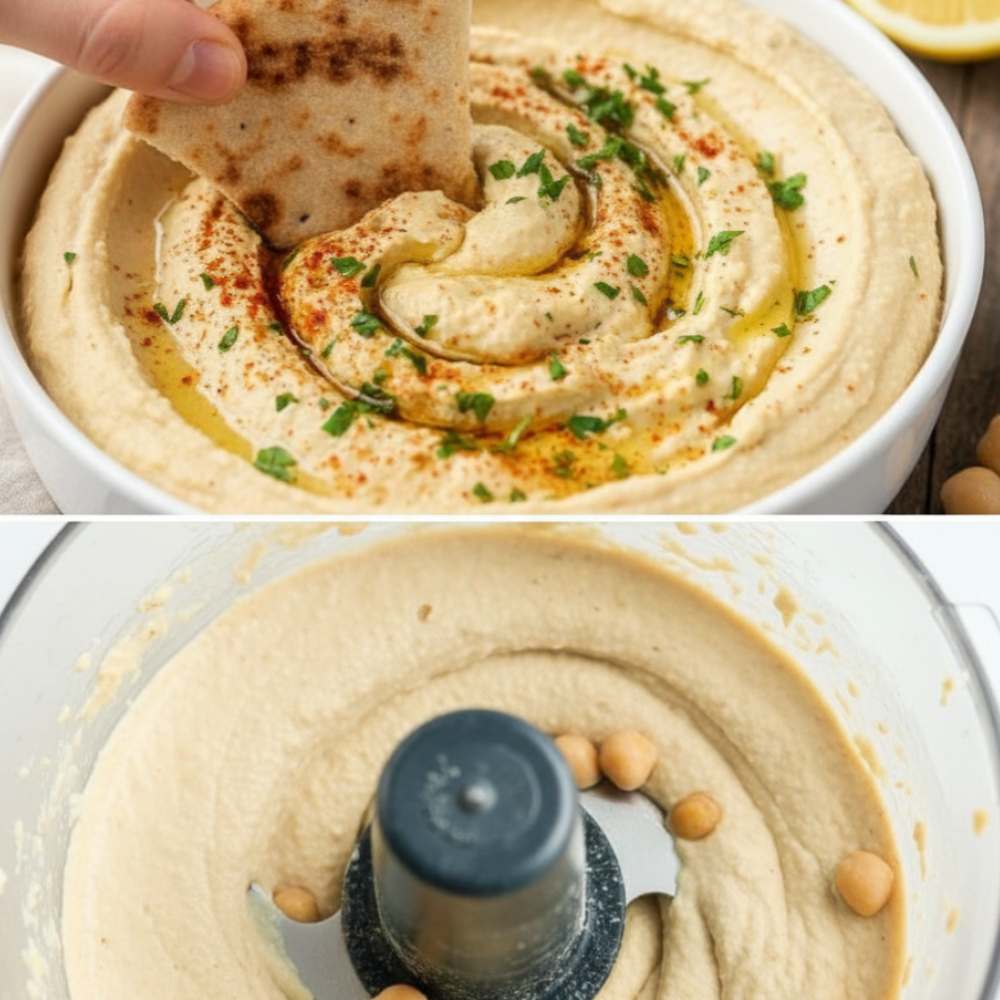
Crafting the perfect dip should not be a complicated affair. For anyone seeking a flavorful, nutritious, and incredibly simple dish, this recipe for the Best Easiest Hummus is your answer. Forget store-bought versions filled with preservatives. We are focusing on a fresh, homemade chickpea dip that comes together in mere minutes. This isn’t just a snack; it’s a versatile 5-minute vegan appetizer that can elevate any meal or gathering. Its naturally wholesome ingredients also make it one of the best healthy snack ideas available.
The beauty of this hummus lies in its simplicity and the vibrant flavors it delivers. It strikes a balance between creamy texture and bright, zesty notes, making it an instant crowd-pleaser. Whether you are serving guests, packing a lunch, or simply indulging in a wholesome treat, this recipe offers maximum reward for minimal effort. Get ready to transform basic pantry staples into a truly satisfying experience.
Quick Creamy Homemade Dip
This recipe focuses on speed and efficiency without compromising on taste or texture. We aim for a consistently smooth, rich dip that stands out. The key is fresh ingredients and a good food processor. The process is so straightforward that even novice cooks can achieve professional results on their first attempt. It embodies the essence of an authentic middle eastern dip while being accessible for every home kitchen.
The velvety texture and robust flavors are what define an excellent hummus. Our approach ensures both. It’s about letting the natural qualities of the chickpeas and tahini shine, complemented by just the right amount of acidity and aromatic garlic. This results in a dip that is not only delicious but also remarkably fresh and invigorating. Prepare yourself for a new go-to recipe that will impress everyone.
The 7 Simple Ingredients
Creating the Best Easiest Hummus starts with high-quality, fundamental ingredients. Each component plays a crucial role in achieving the desired texture and flavor profile. You will be surprised by how few items are needed to produce such a rich and satisfying homemade chickpea dip. Exact measurements are key for consistency.
- 15 oz Canned chickpeas, rinsed and drained: The foundation of our hummus. Rinsing removes excess sodium and starch, leading to a cleaner flavor. Draining is essential for controlling the final consistency.
- 1/4 cup Tahini, well stirred: This sesame paste provides the characteristic nutty flavor and contributes significantly to the creamy texture. Always stir tahini well before measuring, as the oil can separate. This is vital for a smooth consistency.
- 2 tbsp Fresh lemon juice: Essential for brightness and acidity, balancing the richness of the tahini and chickpeas. Freshly squeezed is always preferred for the best flavor.
- 2 tbsp Extra virgin olive oil: Adds richness and a silky mouthfeel. It also helps in emulsifying the mixture for a smoother blend.
- 1 clove Garlic, minced: A single clove provides a subtle pungency that enhances the overall flavor without overpowering it. Minced garlic integrates seamlessly into the dip.
- 1/2 tsp Kosher salt: Crucial for seasoning and bringing out the flavors of the other ingredients. Adjust to your preference after an initial taste test.
- 1/2 tsp Ground cumin: Offers a warm, earthy undertone that is characteristic of an authentic middle eastern dip. It adds depth and aromatic complexity.
- Garnish: 1 pinch Paprika and 1 tbsp Fresh parsley, chopped. These add color, a touch of extra flavor, and visual appeal when serving.
- Serving: 4 pieces Pita bread, warmed. The perfect accompaniment for scooping up this delightful dip.
These seven core ingredients are all you need for an exceptional hummus. Their combined effect creates a harmonious and incredibly palatable dip. This simple list reinforces why this is a quick tahini recipe everyone can master.
Step-by-Step Instructions
Making this hummus is straightforward. The process involves minimal steps, making it ideal for a last-minute appetizer or snack. Follow these instructions precisely for the best results, ensuring a velvety smooth and flavorful finish.
1. Combine Ingredients in Food Processor
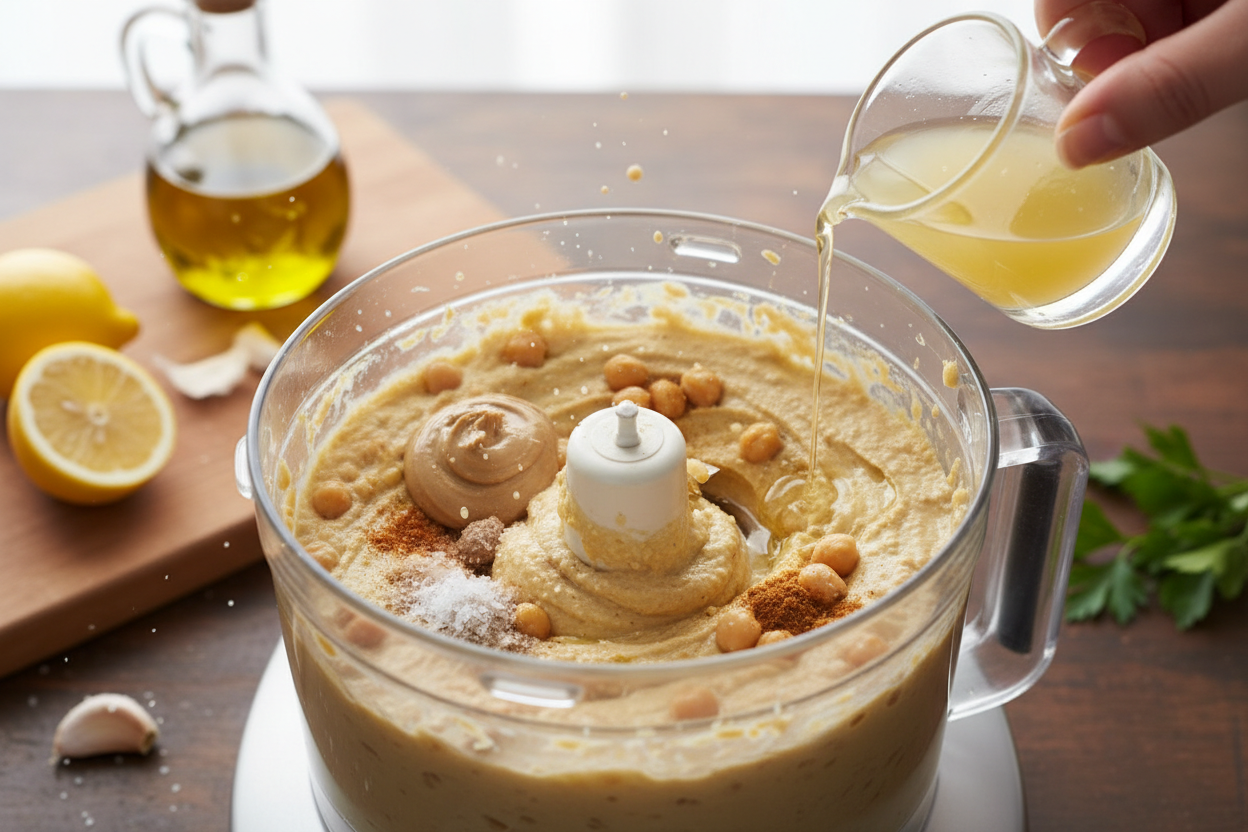
Begin by gathering all your measured ingredients. Add the entire 15 oz of rinsed and drained chickpeas directly into the bowl of your food processor. Next, add the 1/4 cup of well-stirred tahini. Pour in the 2 tablespoons of fresh lemon juice and the 2 tablespoons of extra virgin olive oil. Introduce the 1 minced clove of garlic, the 1/2 teaspoon of kosher salt, and the 1/2 teaspoon of ground cumin. Ensure all ingredients are nestled comfortably in the processor bowl.
2. Puree Until Smooth
Secure the lid on your food processor. Begin pureeing the mixture. Allow the processor to run for a full 2 to 3 minutes. During this time, the ingredients will break down and emulsify, transforming into a thick, creamy paste. Periodically scrape down the sides of the bowl with a spatula to ensure all ingredients are incorporated evenly. If the mixture appears too thick or chunky, add warm water, one tablespoon at a time, until the desired smooth and creamy consistency is achieved. Continue processing after each addition of water until the hummus is perfectly silky. This step is crucial for achieving that characteristic creamy garlic spread texture.
3. Garnish and Serve
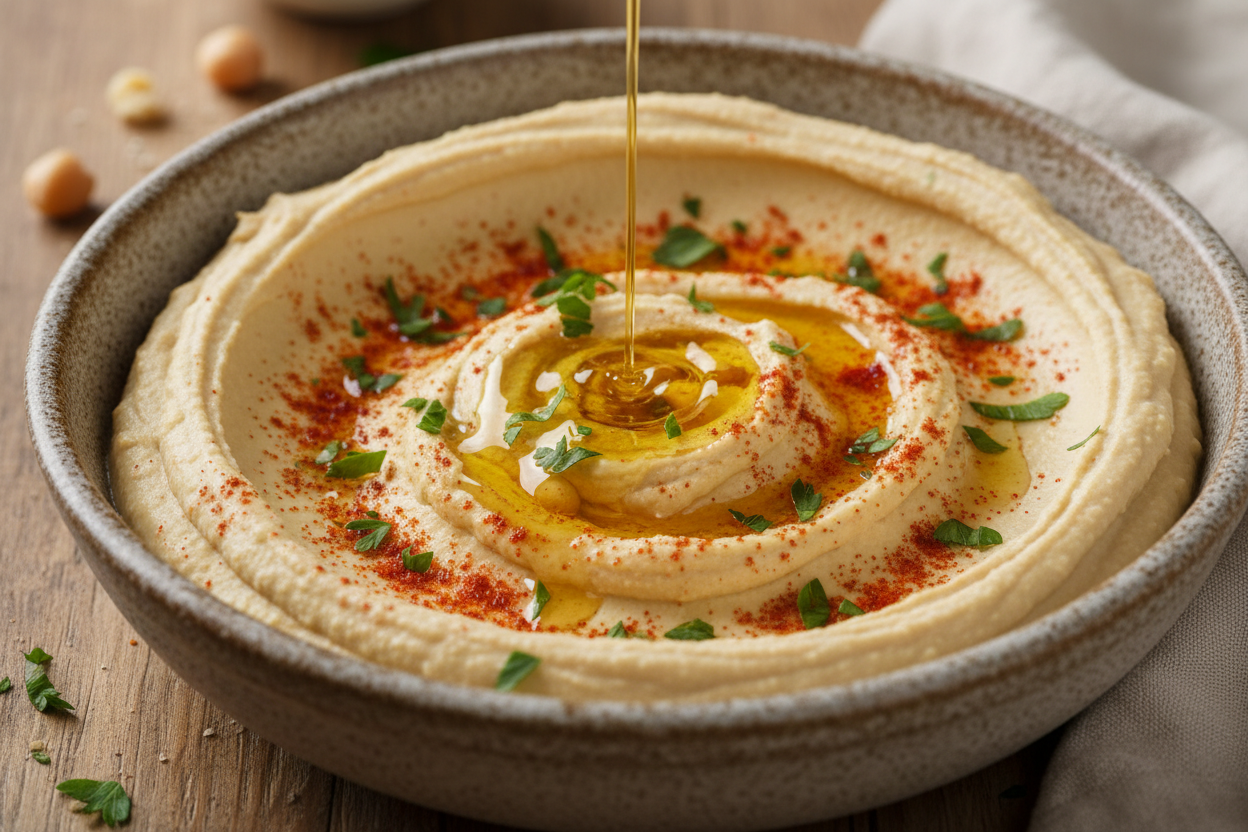
Once the hummus reaches its ideal smoothness, carefully transfer it from the food processor to a serving bowl. Using the back of a spoon, create a slight well or swirl in the center of the hummus. Drizzle a small amount of extra virgin olive oil over the surface. Sprinkle a 1 pinch of paprika over the top for color and a hint of smoky flavor. Finish with a generous scattering of 1 tablespoon of freshly chopped parsley. Serve immediately with 4 pieces of warm pita bread or your favorite vegetables for a delightful and 5-minute vegan appetizer or healthy snack ideas option.
Expert Tips for the Best Texture
Achieving that coveted silky smooth texture in your homemade chickpea dip is simpler than you might think, but a few expert tricks can make all the difference. These tips focus on refining the process to guarantee your hummus is always top-notch, embodying the qualities of a truly superior creamy garlic spread.
- Warm Water for Ultimate Creaminess: The instruction to add warm water if too thick is not just for thinning. Warm water helps to emulsify the ingredients more effectively, resulting in a significantly smoother and lighter texture. Cold water can stiffen the tahini and oil, making the hummus dense. Start with 1 tablespoon and add more as needed, processing between additions until you reach your desired consistency.
- Quality Tahini Matters: The quality of your tahini plays a monumental role in both flavor and texture. Look for tahini that is light in color and has a pourable consistency when stirred. A well-mixed, good-quality tahini contributes to a silkier final product. If your tahini is very thick or pasty, it can make your hummus dense and slightly gritty. Always stir the 1/4 cup tahini thoroughly in its container before measuring it out.
- Process Longer Than You Think: Many home cooks stop processing too soon. To truly break down the chickpea skins and achieve a wonderfully smooth texture, let your food processor run for the full 2 to 3 minutes, or even a little longer if needed. The continuous blending helps create an incredibly airy and fluffy hummus, moving beyond just a simple puree. Scraping down the sides periodically ensures all ingredients are fully incorporated.
- Chickpea Preparation: While canned chickpeas are convenient and perfectly suitable for this Best Easiest Hummus, ensuring they are properly rinsed and drained is key. Excess liquid can throw off the balance of the recipe, and the starchy residue can impact flavor. For an even smoother texture, some chefs advocate for removing the skins from the chickpeas, though this is optional and adds time, going against the “easiest” principle of this recipe. However, the extra processing time mentioned above often negates the need for this step.
- Taste and Adjust: Always taste your hummus before serving. The 1/2 teaspoon of kosher salt and 2 tablespoons of fresh lemon juice provide a good starting point, but personal preference varies. You might find you want a little more tang, a touch more salt, or even an extra pinch of the 1/2 teaspoon ground cumin to deepen the flavor. Adjusting these elements to your palate ensures a perfect batch every time.
By following these expert tips, your homemade hummus will rival that of any restaurant. You will consistently achieve a luxurious, creamy garlic spread that is a delight to eat.
Storage and Freezing Instructions
Proper storage is essential to maintain the freshness and flavor of your homemade chickpea dip. This section provides guidelines for keeping your hummus delicious for days and even outlines if it can be frozen for longer preservation. You have made the Best Easiest Hummus; now ensure it stays that way.
Refrigeration
Once prepared, transfer your hummus to an airtight container. Press a piece of plastic wrap directly onto the surface of the hummus before sealing the container. This prevents a skin from forming and helps to keep it fresh. Stored correctly in the refrigerator, your hummus will remain fresh for up to 5 to 7 days. Before serving from the refrigerator, allow it to come to room temperature for about 15 to 20 minutes. A quick stir can help restore its original creamy consistency. You can also add a fresh drizzle of extra virgin olive oil and a pinch of paprika before serving to refresh its appearance and flavor.
Freezing
Yes, hummus can be frozen. This is a great option if you make a larger batch of this quick tahini recipe or want to have some readily available for future use. To freeze, transfer the hummus to a freezer-safe, airtight container. Again, pressing a piece of plastic wrap directly onto the surface helps prevent freezer burn. Leave a little headspace in the container, as the hummus may expand slightly when frozen. It can be stored in the freezer for up to 3 to 4 months.
When you are ready to enjoy it, thaw the frozen hummus in the refrigerator overnight. Once thawed, stir it vigorously to restore its creamy texture. You may find that the texture is slightly different after freezing and thawing; it might be a bit thicker or have separated slightly. A quick re-blend in a food processor with a tablespoon or two of warm water, fresh lemon juice, or extra virgin olive oil can help restore it to its original smoothness. A final garnish of paprika and parsley will bring it back to life, ready to be enjoyed as a healthy snack idea.
This simple storage advice ensures you can always have a fresh batch of your favorite homemade chickpea dip on hand, making it even more convenient as a 5-minute vegan appetizer solution.
This Best Easiest Hummus recipe is a testament to the power of simple ingredients and straightforward techniques. It offers a fresh, flavorful, and incredibly versatile option for anyone seeking delicious healthy snack ideas or a quick appetizer. Enjoy the rich, creamy texture and vibrant taste of this authentic middle eastern dip, made right in your own kitchen.
For more delicious and easy recipes, be sure to follow us on Facebook: Follow our Facebook page.
5-Minute Creamy Chickpea Dip
Ingredients
- 15 oz Canned chickpeas rinsed and drained
- 1/4 cup Tahini well stirred
- 2 tbsp Fresh lemon juice freshly squeezed
- 2 tbsp Extra virgin olive oil plus more for garnish
- 1 clove Garlic minced
- 1/2 tsp Kosher salt to taste
- 1/2 tsp Ground cumin for depth of flavor
- 1 pinch Paprika for garnish
- 1 tbsp Fresh parsley chopped, for garnish
- 4 pieces Pita bread warmed, for serving
Instructions
- Add the drained chickpeas, tahini, lemon juice, extra virgin olive oil, garlic, kosher salt, and ground cumin to a food processor.
- Puree the mixture for 2 to 3 minutes until completely smooth and creamy, pausing to scrape down the sides as needed.
- If the dip is too thick, blend in 1 to 2 tablespoons of warm water until your desired consistency is reached.
- Transfer the pureed dip to a serving bowl, drizzle generously with additional olive oil, and garnish with a pinch of paprika and fresh parsley.
- Serve immediately with warm pita bread.
For more daily recipes and tips, follow us on Facebook!
Click here to join our community!