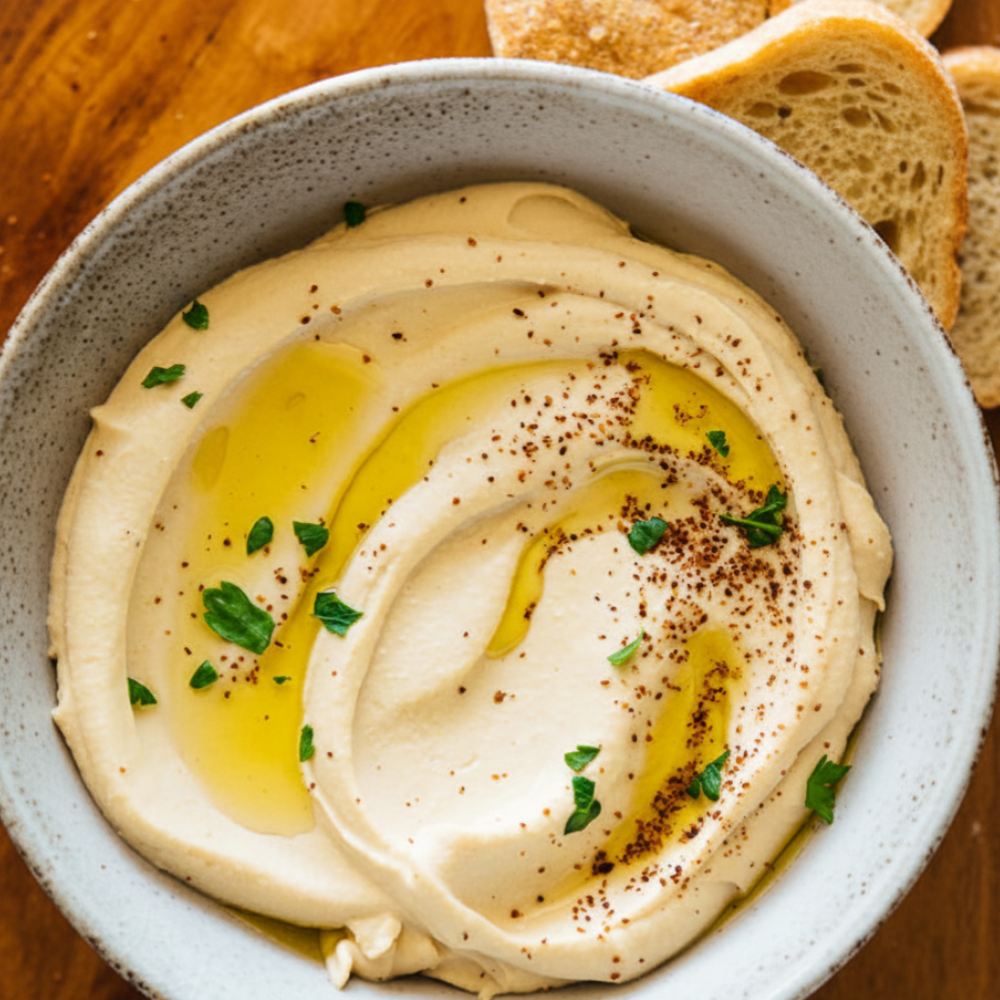
There is a distinct difference between store-bought and truly exceptional homemade hummus. This recipe guides you to achieve the silkiest, most luxurious creamy chickpea dip possible. Many struggle with gritty textures or a lack of depth. Our method specifically addresses these common issues, delivering a consistently smooth result without the laborious task of peeling individual chickpeas. The technique hinges on precise ingredient treatment and blending order, ensuring every batch is profoundly flavorful and perfectly textured. Prepare to elevate your snacking and entertaining with a dip that stands apart, showcasing the true potential of this beloved spread.
Key Ingredients for Perfect Hummus
Achieving the perfect texture and flavor profile for your homemade hummus starts with selecting high-quality ingredients. Each component plays a crucial role in developing that signature rich taste and irresistible smoothness. Stick to these precise measurements for optimal results, as consistency is key to success.
- 1 15-oz can chickpeas (garbanzo beans): Drained and rinsed thoroughly. These form the creamy base of our dip. Ensure they are well-rinsed to remove excess sodium and improve flavor.
- 1/2 cup high-quality tahini: This sesame paste is fundamental for the authentic flavor and creamy consistency. Its natural oils and distinctive richness are irreplaceable in creating an authentic middle eastern dip. Look for tahini with a smooth, pourable texture.
- 1/4 cup fresh lemon juice: Freshly squeezed lemon juice brightens the dip and provides essential acidity. It balances the richness of the tahini and enhances the overall fresh taste. Avoid bottled lemon juice for the best flavor.
- 1 clove garlic: Adds a pungent, aromatic depth. A single clove provides a balanced flavor that enhances the dip without overpowering other ingredients. For a milder taste, you can roast the garlic lightly before adding.
- 2 tbsp olive oil: A good quality extra virgin olive oil contributes significantly to the smooth texture and adds a fruity, robust note to the finished hummus. It also helps with the emulsification process.
- Spices:
- 1/2 tsp cumin: Ground cumin offers a warm, earthy flavor that is characteristic of this traditional dip. It adds complexity and warmth.
- Salt: To taste. Start with 1/2 tsp as suggested in the instructions and adjust as needed, depending on your preference and the salt content of your chickpeas.
- Paprika: Used primarily for garnish, adding vibrant color and a mild, sweet, or smoky flavor, depending on the type you choose.
- Sumac: Another garnish, providing a tangy, slightly sour, and citrusy finish that complements the lemon beautifully.
The synergy of these ingredients, particularly the fresh lemon juice and high-quality tahini, creates the distinctive profile of this exquisite garlic lemon chickpea puree. While the list is concise, the quality of each item significantly impacts the final taste and texture. Opting for good extra virgin olive oil and fresh garlic, rather than pre-minced, makes a noticeable difference. These choices are part of the overall philosophy for creating a truly authentic and superior dip, ensuring that your efforts yield the best possible result with every batch.
Step-by-Step Instructions for the Smoothest Homemade Hummus
Follow these steps carefully to create a luxurious garlic lemon chickpea puree that rivals any restaurant offering. The method prioritizes blending specific ingredients first, a key aspect of our smooth dip tricks, ensuring a velvety texture without extra effort like peeling.
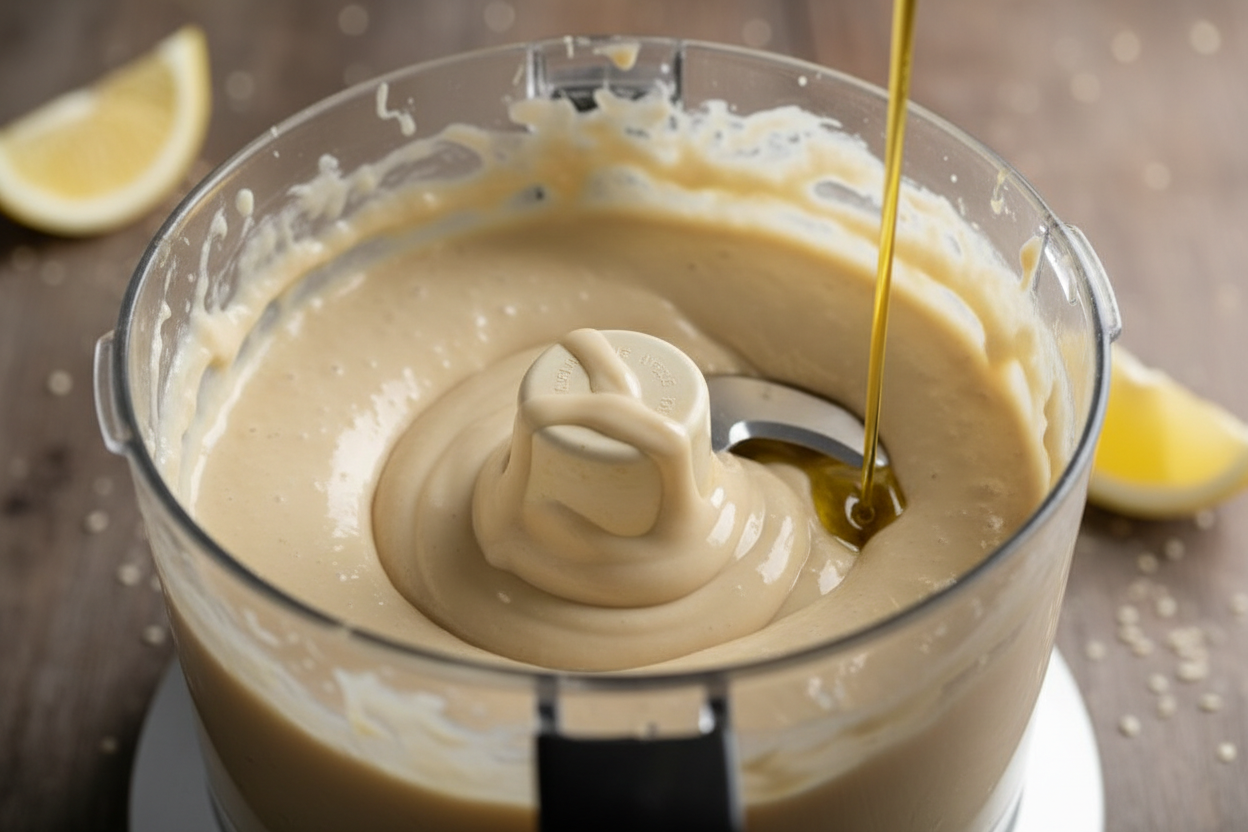
- Begin by combining 1/2 cup tahini and 1/4 cup fresh lemon juice in your food processor. Process these two ingredients alone for a full 1 minute. This crucial step creates a light, fluffy, and emulsified mixture. This is the foundation for truly smooth hummus. Scrape down the sides of the bowl as needed to ensure thorough blending.
- Next, add 1 clove garlic, 2 tbsp olive oil, and 1/2 tsp cumin to the tahini-lemon mixture. Also, add 1/2 tsp salt at this stage. Process again for another 30 seconds to ensure the garlic is finely minced and thoroughly integrated into the creamy base, and the spices are well distributed.
- Now, gradually add the 1 15-oz can chickpeas to the food processor. Do not dump them all in at once. Add them in small batches while the processor is running, allowing the machine to work them into a paste. Continue blending for several minutes, scraping down the sides frequently, until the mixture is very smooth and thick. Patience here is essential for achieving the desired velvety consistency.
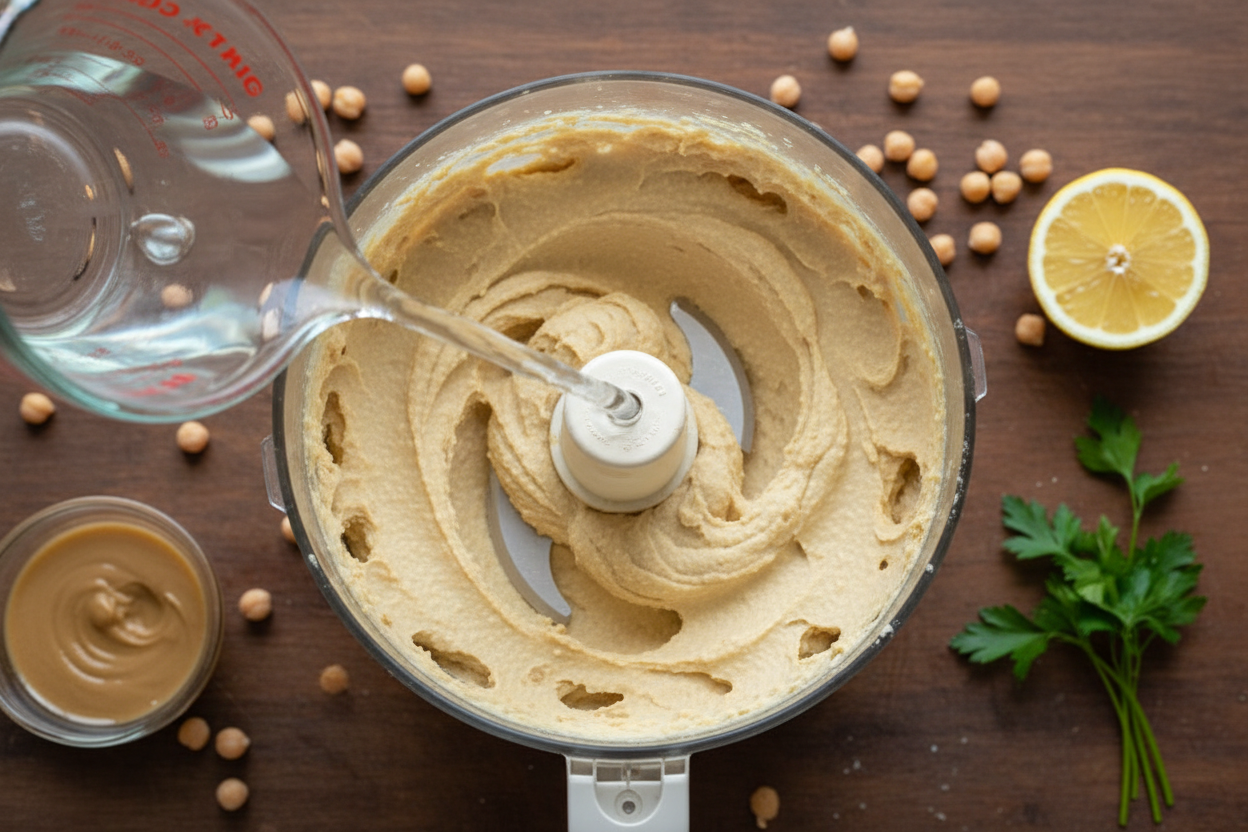
- For the ultimate creamy texture, drizzle in 3 tbsp ice water slowly while the processor is still running. The cold water helps to lighten the hummus, making it airy and contributing significantly to its signature silken finish. Continue blending for another 1-2 minutes until the desired consistency is reached, adding a touch more ice water if you prefer a thinner dip.
- Transfer the finished homemade hummus to a serving bowl. Drizzle generously with additional olive oil for richness and sheen. Dust with paprika and sumac for vibrant color and a final layer of aromatic flavor. Garnish with fresh parsley, chopped fine, for a touch of freshness. Serve immediately with warm pita or toasted bread.
Serving Suggestions to Complement Your Creamy Chickpea Dip
Once your exquisite homemade hummus is prepared, pairing it with the right accompaniments enhances the entire experience. This versatile creamy chickpea dip is perfect for any gathering, from casual snacking to elegant dinner parties.
- Warm pita bread: The classic pairing. Lightly warm the pita bread in an oven or on a skillet for the best, most pliable texture.
- Fresh vegetable sticks: Cucumbers, carrots, bell peppers of various colors, celery, and radishes offer a refreshing crunch and a healthy vehicle for dipping into the creamy hummus.
- Toasted bread with olive oil and parsley: For a more substantial option, toast slices of crusty bread or baguette. Drizzle them with olive oil and sprinkle with fresh parsley before serving alongside the hummus.
Storage and Making Ahead: Enjoying Your Hummus Longer
One of the many benefits of making your own homemade hummus is its excellent shelf life and adaptability for meal prepping. Proper storage ensures you can enjoy your delicious garlic lemon chickpea puree for days, making it a convenient staple.
- Refrigeration: Store your freshly made hummus in an airtight container in the refrigerator. It will maintain its quality and vibrant flavor for up to 5-7 days. Before serving leftovers, let it sit at room temperature for 15-20 minutes to soften slightly, then stir it well to restore its creamy texture. You may want to add a fresh drizzle of olive oil on top before serving.
- Freezing Tips: Yes, you can successfully freeze hummus. Transfer it to a freezer-safe, airtight container, ensuring you leave about an inch of headspace at the top as the hummus may expand slightly when frozen. It can be frozen for up to 4 months without significant loss of quality. When ready to use, thaw it overnight in the refrigerator. Once thawed, stir vigorously, and if needed, add a touch of fresh lemon juice or a tablespoon of ice water to regain its perfect, smooth consistency. Always re-garnish with fresh olive oil and spices before serving to revitalize its appearance and flavor.
Mastering this simple yet refined recipe means you are just a few steps away from an incredibly smooth and profoundly flavorful homemade hummus. This isn’t just a basic dip; it is an authentic middle eastern dip that embodies freshness and quality. It excels among easy appetizer recipes, making it a reliable choice for casual family dinners or more elaborate gatherings. As a naturally wholesome and satisfying option, it also serves as an outstanding base for vegan party dips, catering to diverse dietary needs without compromising on taste or elegance.
The satisfaction of preparing such a staple from scratch, knowing every ingredient that goes into it, is immense. Your guests and family will undoubtedly appreciate the superior taste and texture compared to mass-produced alternatives. For continuous inspiration, more expert tips, and to connect with a community passionate about delicious food, we invite you to follow our Facebook page. Join us there for daily culinary insights, behind-the-scenes content, and engaging discussions to fuel your home cooking journey.
Ultra Creamy Chickpea Dip
Ingredients
- 1 can Chickpeas 15-oz can, drained and rinsed
- 1/2 cup Tahini High quality, well stirred
- 1/4 cup Lemon juice Freshly squeezed
- 1 clove Garlic Minced
- 2 tbsp Olive oil Extra virgin
- 1/2 tsp Ground cumin For flavor
- 1/2 tsp Salt Fine sea salt
- 3 tbsp Ice water For consistency
- 1 pinch Paprika For garnish
- 1 tbsp Fresh parsley Chopped, for garnish
- 2 pieces Pita bread Warm or toasted, for serving
Instructions
- Combine tahini and fresh lemon juice in a food processor. Process for 1 minute until whipped and smooth.
- Add the minced garlic, extra virgin olive oil, cumin, and salt to the whipped tahini. Process for another 30 seconds.
- Drain and rinse the chickpeas. Add half of the chickpeas to the food processor and blend for 1 minute. Scrape the bowl, add the remaining chickpeas, and blend until thick and quite smooth.
- With the food processor running, slowly add ice water, one tablespoon at a time, until the mixture reaches your desired ultra-creamy consistency.
- Transfer to a serving bowl. Drizzle generously with additional olive oil, and sprinkle with paprika, sumac, and chopped fresh parsley. Serve immediately with warm pita bread or toasted bread.
For more daily recipes and tips, follow us on Facebook!
Click here to join our community!