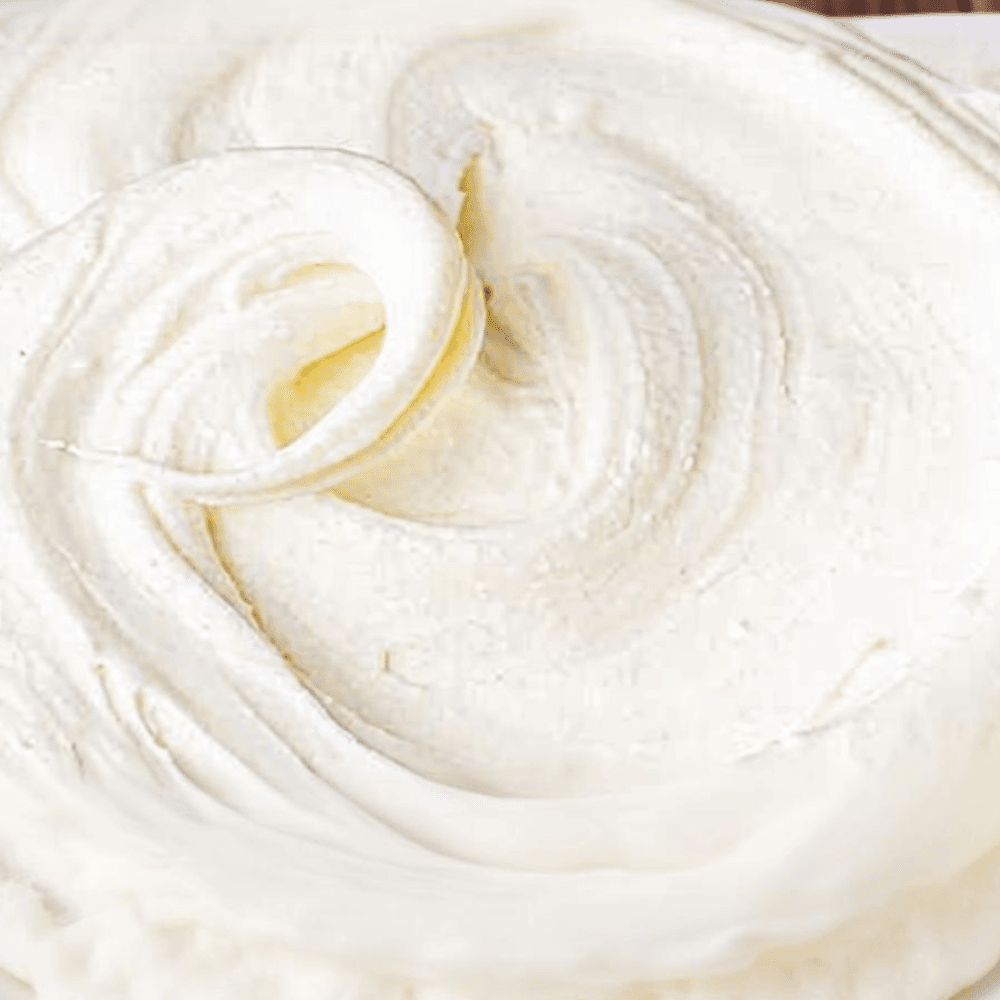
There’s an undeniable magic to the rich, silken texture of classic Italian desserts. From tiramisu to cheesecakes, the secret often lies in one glorious ingredient: mascarpone. While readily available in stores, crafting your own Homemade Mascarpone offers a level of freshness, flavor, and purity that simply can’t be matched. Imagine a luxurious Italian soft cheese, made with just two simple ingredients, free from any additives or stabilizers, and often at a fraction of the cost.
Diving into DIY cheese making might sound intimidating, but making mascarpone at home is surprisingly straightforward. It’s a delightful culinary adventure that hinges on a simple scientific principle: the acid coagulation of high-fat cream under precise temperature control. This guide will walk you through every step, ensuring you achieve that signature creamy, spreadable perfection every time.
The Science Behind Creamy Mascarpone
Achieving the perfect consistency for your Homemade Mascarpone isn’t just about following steps; it’s about understanding the gentle science at play. The foundation of this exquisite Italian soft cheese lies in its primary ingredient: heavy whipping cream.
Understanding Butterfat Content
The key to mascarpone’s signature richness and thickness is a high butterfat content, typically ranging from 36% to 40%. This is why you must use heavy cream or heavy whipping cream, and not lighter creams or half-and-half. The higher the fat content, the more solids will be available to coagulate, resulting in a thicker, more luxurious cheese. Attempting this recipe with lower-fat creams will invariably lead to a runny, disappointing product that lacks the body and mouthfeel of true mascarpone.
The Role of Acidity
Unlike many cheeses that rely on rennet, mascarpone is a vegetarian cheese recipe that achieves its coagulation through the introduction of an acid. As the acid, typically lemon juice or tartaric acid, is added to heated cream, it causes the milk proteins to denature and clump together. This process, known as acid coagulation, is delicate. Too much acid or acid added at the wrong temperature can lead to a grainy texture. Freshly squeezed lemon juice is preferred for its balanced acidity and bright flavor profile, complementing the cream beautifully.
Temperature Control: The Secret Weapon
Perhaps the most critical factor in preventing a grainy texture and ensuring silky smooth Homemade Mascarpone is precise temperature control. Heating the cream to the correct temperature (around 185°F / 85°C) before adding the acid is vital. This temperature is hot enough to prepare the proteins for coagulation but not so hot that it scorches the cream or encourages immediate, aggressive curdling. Maintaining this temperature consistently after acid addition allows for a gentle, even coagulation, resulting in a beautifully smooth Italian soft cheese.
Ingredients and Equipment
Before you embark on your DIY cheese making journey, gathering the right ingredients and tools is essential for a smooth and successful experience. Fortunately, making Homemade Mascarpone requires very few specialized items.
Essential Ingredients
- Heavy Whipping Cream (36-40% butterfat): This is the backbone of your mascarpone. Look for cream with no added thickeners or stabilizers for the purest result.
- Fresh Lemon Juice: Freshly squeezed is paramount. Bottled lemon juice can have a harsher, less consistent acidity that might negatively impact the texture and flavor of your delicate Italian soft cheese.
Recommended Tools
- Digital Candy Thermometer: This is absolutely critical for success. Precise temperature control is non-negotiable for smooth mascarpone. A reliable thermometer will be your best friend.
- Cheesecloth or Fine-Mesh Sieve: You’ll need this to strain the coagulated cream. If using cheesecloth, opt for a good quality, unbleached variety, folded into several layers.
- Heavy-Bottomed Saucepan: A heavy-bottomed pan distributes heat more evenly, preventing scorching and making temperature control easier.
- Whisk or Silicone Spatula: For gentle stirring.
- Large Bowl: To set up your straining apparatus.
Step-by-Step Guide to Homemade Mascarpone
Ready to create your own luscious Homemade Mascarpone? Follow these steps precisely for a truly exceptional Italian soft cheese that will elevate all your Tiramisu ingredients and other culinary creations.
1. Heating the Cream
- Pour the heavy whipping cream into your heavy-bottomed saucepan.
- Place the pan over medium-low heat. Attach your digital candy thermometer to the side of the pan, ensuring the tip is submerged in the cream but not touching the bottom.
- Gently heat the cream, stirring occasionally with a whisk or silicone spatula to prevent scorching, until it reaches a temperature of 185°F (85°C). This step is crucial for preparing the cream for proper acid coagulation. Do not boil.
2. Acidification
- Once the cream reaches 185°F (85°C), remove the pan from the heat.
- Immediately add the freshly squeezed lemon juice to the hot cream.
- Stir gently for 2-3 minutes. You should notice the cream thickening slightly, coating the back of your spoon. It won’t curdle dramatically like ricotta; instead, it will take on a noticeably heavier, slightly viscous consistency. This is the subtle magic of acid coagulation at work.
3. The Cooling Phase
- Once you’ve stirred in the acid, remove the pan from the heat entirely.
- Allow the cream mixture to cool completely at room temperature for at least 30-60 minutes, or until it’s cool enough to handle. This slow cooling process is vital, as it helps prevent a grainy texture and encourages a smooth, even setting of the proteins. Do not rush this step by placing it directly into the fridge.
4. Straining and Setting
- Line a fine-mesh sieve with 2-3 layers of cheesecloth (or use a nut milk bag) and place it over a large bowl, ensuring the bottom of the sieve doesn’t touch the collected liquid (whey).
- Pour the cooled, thickened cream mixture into the prepared sieve.
- Cover the sieve loosely with plastic wrap and transfer it to the refrigerator.
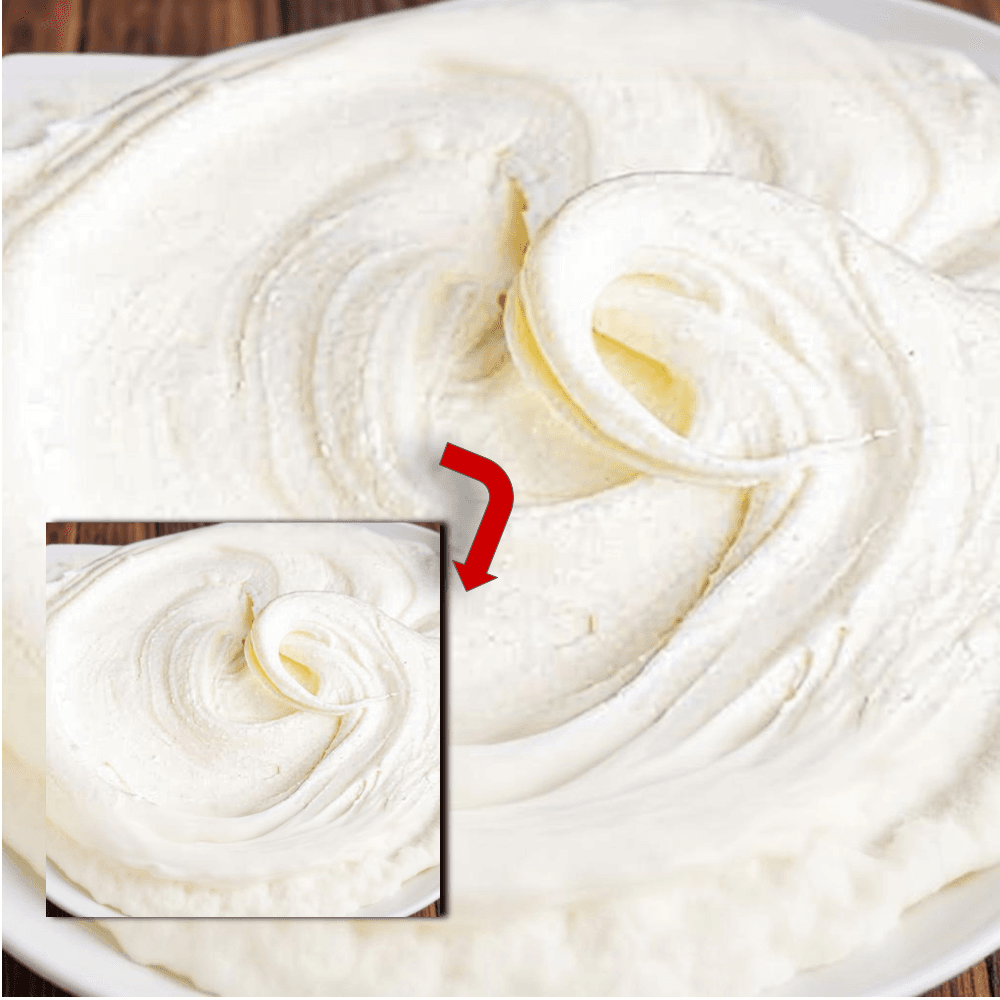
- Allow the mascarpone to drain for 12 to 24 hours. The longer it drains, the thicker and firmer your mascarpone will become. For a perfect, spreadable consistency, 18-20 hours is often ideal. Check it periodically; you’ll see liquid (whey) collecting in the bowl below.
- Once desired consistency is reached, transfer the glorious Homemade Mascarpone to an airtight container. It’s now ready to transform your culinary creations!
Expert Tip: Don’t discard the collected whey! It’s a nutrient-rich liquid that can be used in baking (replacing water in bread dough), smoothies, or even as a base for soups. It’s another bonus of DIY cheese making!
Troubleshooting Common Issues
Even with the most precise steps, minor hiccups can occur in DIY cheese making. Here’s how to troubleshoot common issues when making Homemade Mascarpone:
Grainy Texture
- Causes: This is often the result of overheating the cream, over-stirring after adding the acid, or cooling too rapidly. Rapid coagulation or excessive agitation can cause the milk proteins to clump too aggressively.
- Fixes: If your mascarpone turns out grainy, don’t despair! You might be able to salvage it by gently warming it over a double boiler until it just barely loosens, then immediately whisking it vigorously until smooth, or even giving it a quick pulse in a food processor or blender. Next time, ensure you maintain the target temperature strictly and stir only until the cream thickens.
Too Runny
- Causes: The most common reasons for runny mascarpone are insufficient straining time, using cream with too low a fat content (below 36%), or not allowing the cream to reach the correct temperature before adding the acid, which hinders proper acid coagulation.
- Fixes: If your mascarpone is too runny after its initial drain, simply return it to the sieve (lined with fresh cheesecloth if needed) and allow it to drain for several more hours in the refrigerator. Ensure you’re always using high-fat heavy whipping cream.
Separation (Broken Emulsion)
- Causes: Sometimes, the fats and liquids might appear to separate rather than form a cohesive mass. This can happen if the cream was overheated, cooled too quickly, or if the acid was added too aggressively.
- Fixes: Gently rewarm the separated mixture over a double boiler, whisking continuously until it starts to come together. If it’s very broken, a quick blend with an immersion blender or food processor might help re-emulsify it. Then, proceed with the cooling and straining steps as usual.
Delicious Ways to Use Mascarpone
Now that you’ve mastered Homemade Mascarpone, the culinary possibilities are endless! This versatile Italian soft cheese is far more than just a key Tiramisu ingredient; it’s a creamy dessert topping and a fantastic addition to savory dishes.
Classic Tiramisu: The Undisputed King
Of course, the most iconic use for mascarpone is in Tiramisu. Its rich, velvety texture and mild, slightly sweet flavor are the perfect counterpoint to coffee-soaked ladyfingers and cocoa. Using your fresh Homemade Mascarpone will elevate this classic Italian dessert to an entirely new level of decadence and authenticity.
Whipped Mascarpone Frosting: A Stable, Less Sweet Alternative
Forget overly sweet buttercreams! Whipped mascarpone frosting is a revelation. Simply whip your Homemade Mascarpone with a touch of powdered sugar and a hint of vanilla until light and fluffy. It’s a stable, elegant, and much less cloyingly sweet creamy dessert topping, perfect for cakes, cupcakes, tarts, and fresh fruit.
Savory Applications: Creamy Pasta Sauces and Risotto Finishers
Don’t relegate your Homemade Mascarpone solely to desserts! Mascarpone cheese uses extend beautifully into savory cooking. Stir a generous spoonful into hot pasta sauces for instant creaminess and richness, especially tomato-based or mushroom sauces. It’s also a phenomenal finisher for risotto, adding an unparalleled velvety texture and mild tang that takes your dish from good to gourmet. Consider it your secret weapon for a luxurious finish to many vegetarian cheese recipes.
FAQ
Here are some frequently asked questions about your delicious Homemade Mascarpone:
-
What is the shelf life of homemade mascarpone and how should I store it?
Homemade mascarpone, like most fresh dairy products, has a relatively short shelf life. When stored in an airtight container in the coldest part of your refrigerator, it will typically last for 5-7 days. Always use a clean spoon to scoop it out to prevent contamination.
-
Can you freeze homemade mascarpone?
While technically possible, freezing homemade mascarpone is not recommended. Freezing and thawing dairy products with high fat content, like mascarpone, can alter their delicate texture, often making them grainy or causing separation. It’s best enjoyed fresh.
-
Mascarpone vs. Cream Cheese: What’s the difference?
This is a common question! While both are soft, spreadable cheeses, there are significant differences. Mascarpone is an Italian soft cheese made from coagulated heavy cream, resulting in a higher fat content (around 36-40%) and a naturally sweeter, richer, and smoother taste. It has a custard-like consistency. Cream cheese, on the other hand, is made from milk and cream, has a lower fat content (around 33%) and a more pronounced tangy flavor. While they can be used interchangeably in some recipes as a heavy cream substitute in fillings, their distinct profiles make mascarpone far superior for authentic Italian desserts like tiramisu, offering unmatched creaminess and subtle sweetness.
Creamy Homemade Mascarpone
Ingredients
- 2 cups Heavy whipping cream Must be 36-40% milk fat; do not use ultra-pasteurized if possible
- 1 tablespoon Fresh lemon juice Strained to remove pulp
- 1 pinch Salt Optional, for savory applications
Instructions
- Pour the heavy whipping cream into a heavy-bottomed saucepan or double boiler.
- Place over medium-low heat and slowly bring the temperature to exactly 185°F (85°C), monitoring constantly with a digital thermometer to prevent scorching.
- Once at 185°F, reduce heat to low to maintain this temperature. Stir in the lemon juice gently.
- Continue to cook at 185°F for 5 minutes, stirring occasionally. The mixture will thicken slightly and coat the back of a spoon (similar to crème anglaise).
- Remove the pan from the heat and let it cool completely to room temperature naturally (about 30-45 minutes). Do not rush this step.
- Line a fine-mesh sieve with 4 layers of cheesecloth or a clean coffee filter and place it over a bowl to catch the whey.
- Pour the cooled cream mixture into the lined sieve.
- Cover loosely with plastic wrap and refrigerate for 12 to 24 hours. The longer it drains, the thicker the mascarpone will be.
- Transfer the thickened cheese to an airtight container. Use within 5 days.
For more daily recipes and tips, follow us on Facebook!
Click here to join our community!