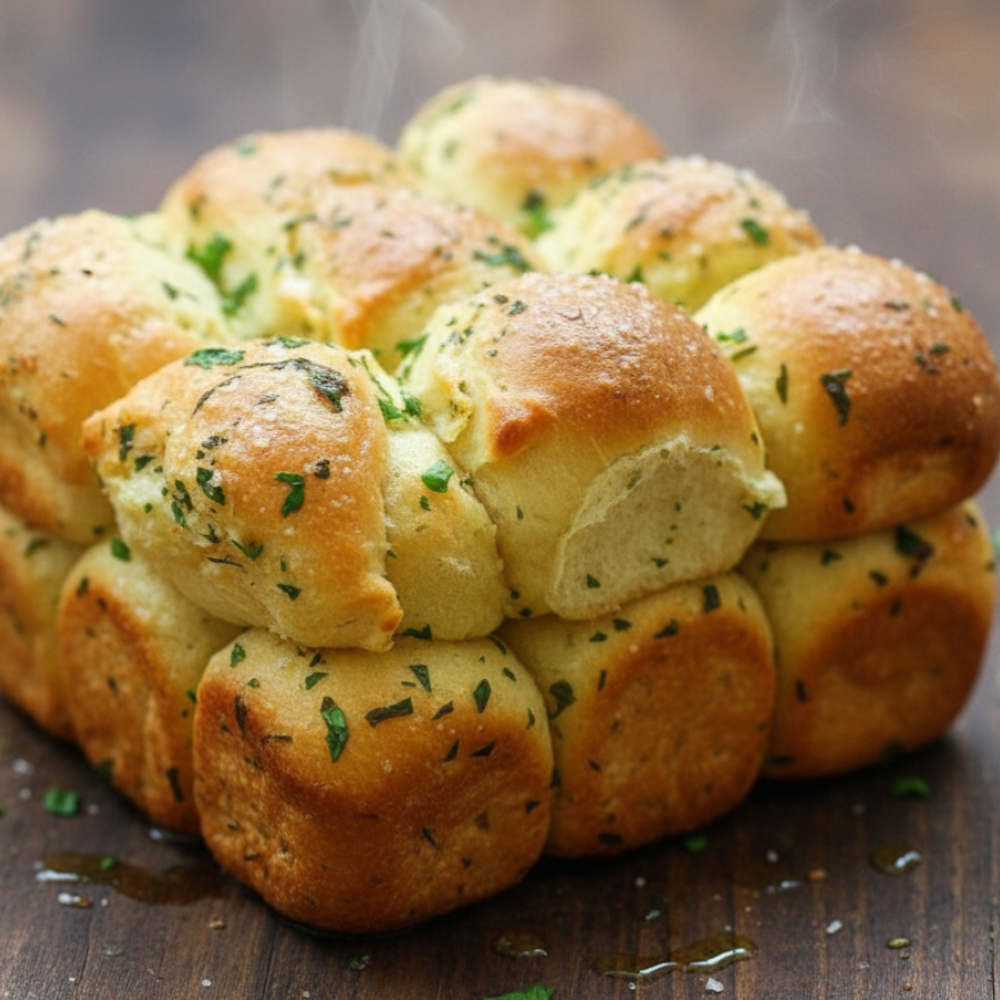
The Ultimate Tear and Share Garlic Loaf
Crafting the perfect pull apart garlic bread at home transforms a simple accompaniment into a memorable centerpiece. This recipe delivers a soft, aromatic tear-and-share loaf that is ideal for any meal. Forget store-bought versions. Making this from scratch allows for control over every element, resulting in a superior flavor and texture that is consistently satisfying.
Why This Recipe Works
This recipe stands out due to its thoughtful combination of a tender, yielding dough and a rich, deeply flavored garlic butter filling. The method ensures a consistent outcome, making it approachable for all skill levels. Each component plays a crucial role in achieving the ultimate comfort food experience.
Soft Homemade Dough
The foundation of this exceptional bread is its homemade dough. By using active dry yeast and allowing sufficient time for proofing, the dough develops a light, airy texture. Proper kneading techniques build the necessary gluten structure, ensuring the bread remains soft and pliable after baking. This careful preparation guarantees a dough that is both easy to work with and delightful to eat.
Rich Butter Filling
The heart of any great garlic bread is its filling. This recipe features a generous blend of melted unsalted butter, finely minced garlic cloves, and vibrant fresh parsley. The combination creates an aromatic spread that permeates every layer of the bread during baking. This richness is key to the irresistible flavor and moisture of the finished loaf.
Ingredients You Will Need
Gathering the correct ingredients in precise quantities is essential for baking success. This recipe uses simple, high-quality components to achieve its remarkable flavor.
For the Dough:
- 3 cups (360g) all-purpose flour
- 2 ¼ teaspoons (1 packet) active dry yeast
- 1 cup (240ml) warm water, 105-115°F (40-46°C)
- 1 teaspoon granulated sugar
- 1 teaspoon salt
- 2 tablespoons olive oil
For the Garlic Butter Filling:
- ½ cup (113g) unsalted butter, melted
- 4 cloves minced garlic cloves
- 2 tablespoons chopped fresh parsley
- ¼ teaspoon salt
- ⅛ teaspoon black pepper
Step-by-Step Instructions
Follow these detailed steps to create your own irresistible pull apart garlic bread. Precision in each stage ensures the best possible outcome.
1. Activating the Yeast
Begin by activating the active dry yeast. In a large bowl, combine 1 cup (240ml) warm water (105-115°F), 1 teaspoon granulated sugar, and 2 ¼ teaspoons active dry yeast. Stir gently and let it sit for 5-10 minutes. The mixture should become foamy, indicating the yeast is active. If no foam appears, the yeast may be old or the water temperature was incorrect.
2. Kneading the Dough
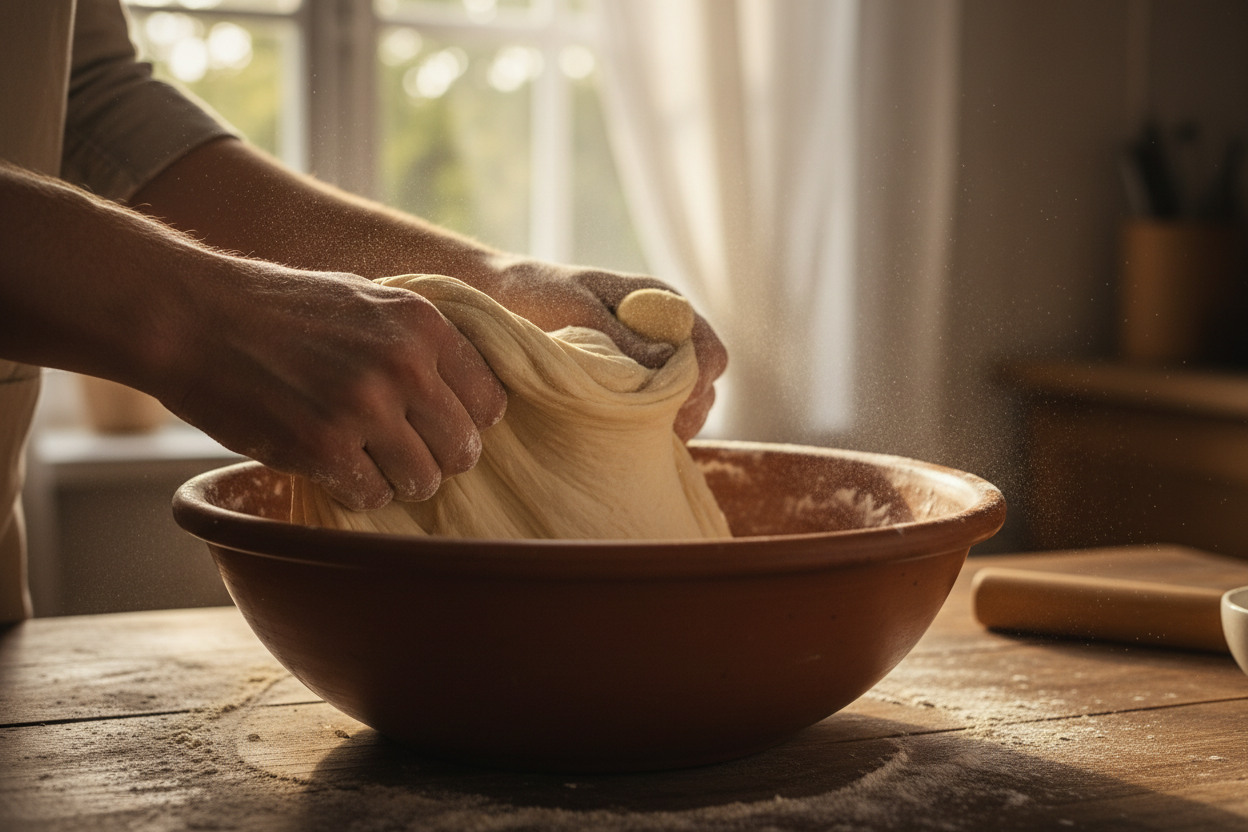
Add 3 cups (360g) all-purpose flour, 1 teaspoon salt, and 2 tablespoons olive oil to the yeast mixture. Mix with a sturdy spoon or a stand mixer with a dough hook until a shaggy dough forms. Turn the dough out onto a lightly floured surface. Kneading is crucial for developing gluten. Knead the dough for 8-10 minutes, until it becomes smooth and elastic. The dough should spring back slowly when poked. Lightly grease a clean bowl with a small amount of olive oil. Place the dough in the bowl, turning once to coat. Cover the bowl with plastic wrap or a clean kitchen towel. Allow the dough to rise in a warm place for 1-1.5 hours, or until it has doubled in size. This proofing time is vital for a light and airy texture in your homemade dough.
3. Shaping and Layering
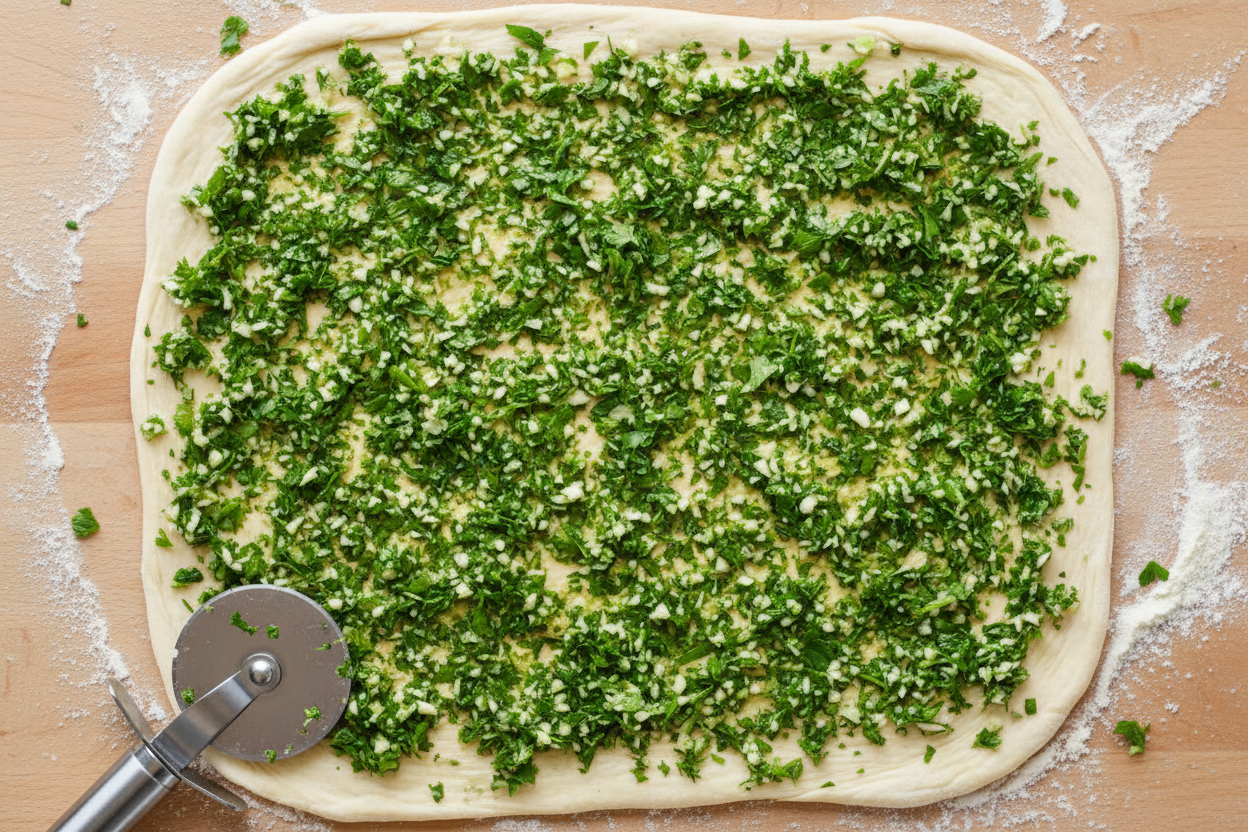
Once the dough has doubled, gently punch it down to release the air. Turn it out onto a lightly floured surface and roll it into a large rectangle, approximately 12×18 inches. In a small bowl, combine ½ cup (113g) melted unsalted butter, 4 minced garlic cloves, 2 tablespoons chopped fresh parsley, ¼ teaspoon salt, and ⅛ teaspoon black pepper to create the garlic butter filling. Evenly spread about two-thirds of this mixture over the rolled-out dough. Using a pizza cutter or sharp knife, cut the dough into approximately 9-10 equal strips lengthwise. Stack these strips on top of each other. Cut the stacked strips crosswise into 6-8 equal segments, about 2 inches each. Carefully arrange these segments vertically in a lightly greased 9×5-inch loaf pan, creating a shingled effect. Pour the remaining garlic butter filling over the top of the arranged dough segments. Cover the loaf pan with plastic wrap or a clean towel and let it rise again in a warm place for 30-45 minutes, or until visibly puffy. This second rise contributes to the softness of the final tear-and-share loaf.
4. Baking to Perfection
Preheat your oven to 375°F (190°C). Once preheated, remove the cover from the loaf pan. Bake the pull apart garlic bread in the preheated oven for 25-30 minutes. The bread is done when the top is beautifully puffed and boasts a rich golden brown crust. The internal temperature should register around 200°F (93°C). If the top starts to brown too quickly, you can lightly tent it with aluminum foil for the last 10 minutes of baking. Remove the loaf from the oven and let it cool in the pan for 5-10 minutes before carefully transferring it to a wire rack. This allows the bread to set and prevents it from becoming soggy.
What to Serve with Your pull apart garlic bread
This savory tear-and-share loaf is incredibly versatile as a side dish. It pairs exceptionally well with a variety of meals, enhancing flavors and providing a satisfying element to your plate. Consider serving it alongside rich pasta dishes, such as lasagna or spaghetti with marinara. It also complements hearty soups and stews, providing a perfect vessel for soaking up flavorful broths. For a lighter meal, offer it with a crisp green salad or grilled BEEF. Its robust garlic flavor makes it a welcome addition to any dinner table.
Storing and Reheating Instructions
To maintain freshness, store any leftover pull apart garlic bread in an airtight container or tightly wrapped in aluminum foil at room temperature for up to 2 days. For longer storage, it can be refrigerated for up to 4 days.
To reheat, preheat your oven to 350°F (175°C). Wrap the bread loosely in aluminum foil and warm it in the oven for 10-15 minutes, or until heated through and soft. Alternatively, individual pieces can be reheated in a toaster oven or microwave, though the oven method yields the best texture, restoring some of the initial crispness.
Frequently Asked Questions
Q: Can I prepare the dough in advance?
A: Yes, you can prepare the homemade dough the day before. After the first rise, punch down the dough, place it in a greased bowl, cover tightly with plastic wrap, and refrigerate overnight. On baking day, remove it from the refrigerator and let it come to room temperature for about 30-45 minutes before shaping.
Q: What if I do not have active dry yeast?
A: If using instant yeast, you can mix it directly with the dry ingredients. The proofing time might be slightly shorter as instant yeast activates more quickly. Follow the package instructions for exact quantities if they differ from active dry yeast.
Q: Can I add cheese to the garlic butter filling?
A: This recipe does not include cheese. To maintain the integrity of this specific recipe, no additional ingredients should be introduced. The current formulation emphasizes the pure flavor of the garlic butter filling and fresh herbs.
Q: How do I ensure a golden brown crust?
A: Achieving a golden brown crust depends on correct oven temperature and baking time. Ensure your oven is accurately preheated to 375°F (190°C). If your oven tends to brown quickly, monitoring it closely and tenting with foil during the final minutes can prevent over-browning.
Q: My dough is not rising. What happened?
A: Several factors can affect dough rising. Ensure your active dry yeast is fresh and not expired. The water temperature for activation should be between 105-115°F (40-46°C); water that is too hot or too cold can kill the yeast. Also, ensure the dough has a warm, draft-free place to rise. Patience is key during the proofing stages.
Follow our Facebook page for more delicious recipes and cooking tips: Follow our Facebook page.
Homemade Garlic Herb Tear-and-Share Bread
Ingredients
- 3 cup All-purpose flour Spoon and leveled
- 2.25 tsp Active dry yeast One standard packet
- 0.5 cup Whole milk Warmed to 110 degrees Fahrenheit
- 0.5 cup Unsalted butter Divided: half melted for dough, half softened for filling
- 4 clove Garlic Finely minced
- 2 tbsp Fresh parsley Finely chopped
- 1 tsp Salt Fine sea salt
Instructions
- 1. In a small bowl, combine warm milk, yeast, and a pinch of sugar. Let sit for 5 minutes until frothy.
- 2. In a large bowl, mix the flour, salt, melted butter, and yeast mixture. Knead for 8 minutes until a smooth dough forms.
- 3. Cover the dough and let it rise in a warm place for 1 hour, or until doubled in size.
- 4. Punch down the dough and roll it out into a 12x12 inch rectangle.
- 5. In a small bowl, mix the softened butter, minced garlic, and chopped parsley. Spread this mixture evenly over the rolled dough.
- 6. Cut the dough into 16 squares. Stack the squares and place them vertically into a greased 9x5 inch loaf pan.
- 7. Cover and let rise for another 30 minutes. Preheat oven to 350 degrees Fahrenheit.
- 8. Bake for 30 minutes until the top is golden brown and the center is fully cooked. Serve warm.
For more daily recipes and tips, follow us on Facebook!
Click here to join our community!